
![]()
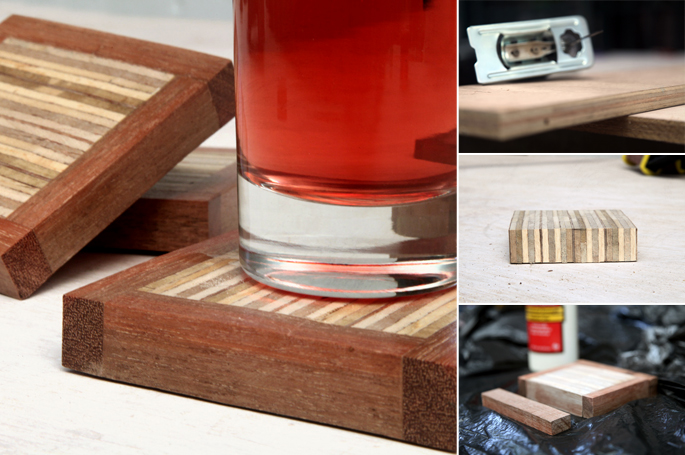
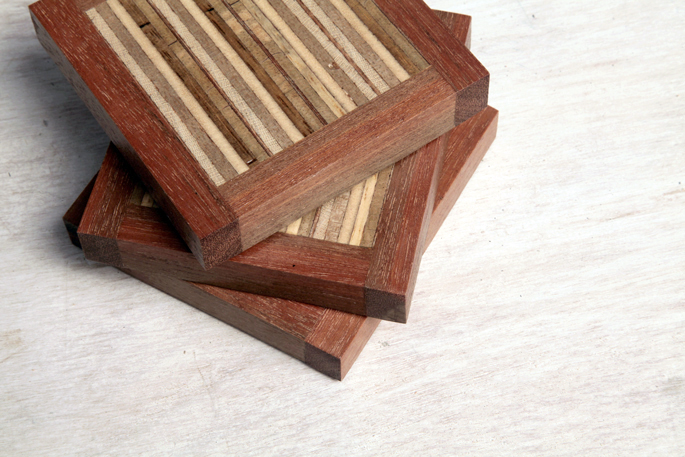
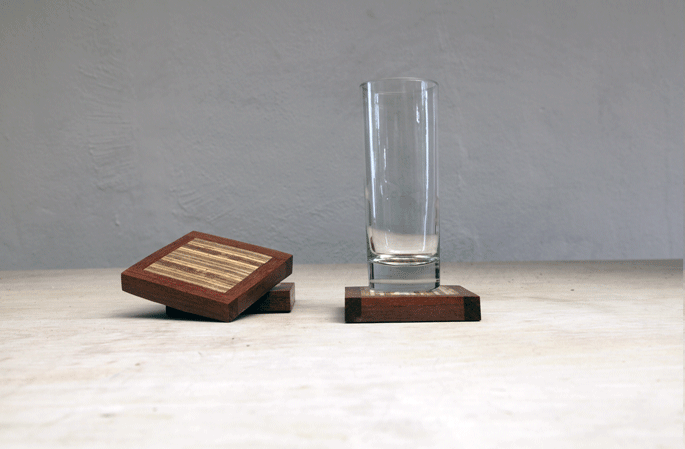
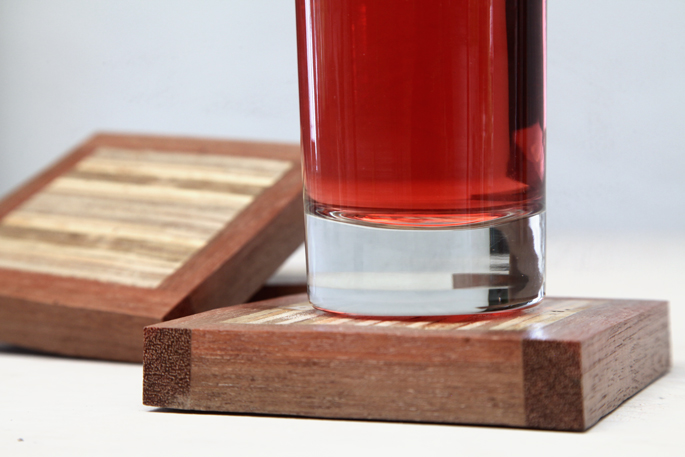
Turn pieces of scrap plywood you have laying around into some handmade coasters. If you’ve never tried woodworking before, this is a great project to get you started.
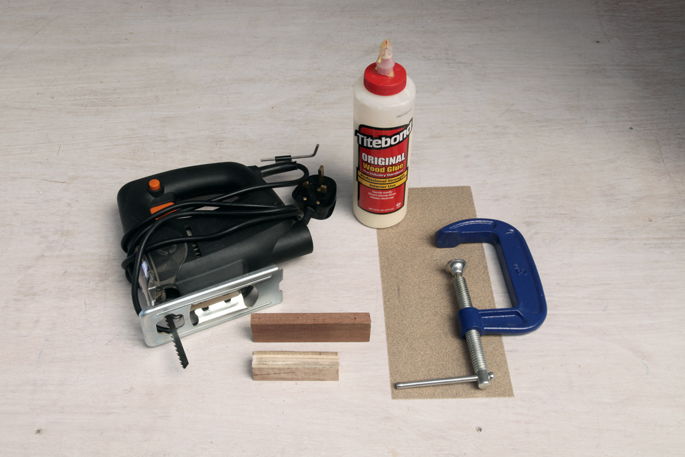
TOOLS
- Jigsaw
I’m using one that I bought at IKEA for $25.
- Optional: Corded Drill
A corded drill was used, along with an inexpensive sanding disk attachment, to sand down the cut pieces of wood. This can also be done by hand with sandpaper.
MATERIALS AND SUPPLIES
- Plywood
3/4 inch plywood. You can use thinner or thicker pieces – since they will be glued together to create the width of your coasters.
- Scrap Wood
I used some dark scrap wood to create the borders of the coasters
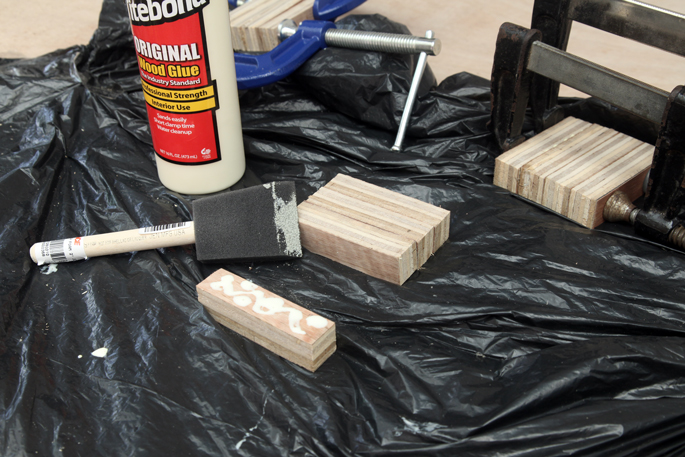
- Wood Glue
- Clamps
INSTRUCTIONS
STEP 1: Taking measurements and cutting
Here is the cut list:
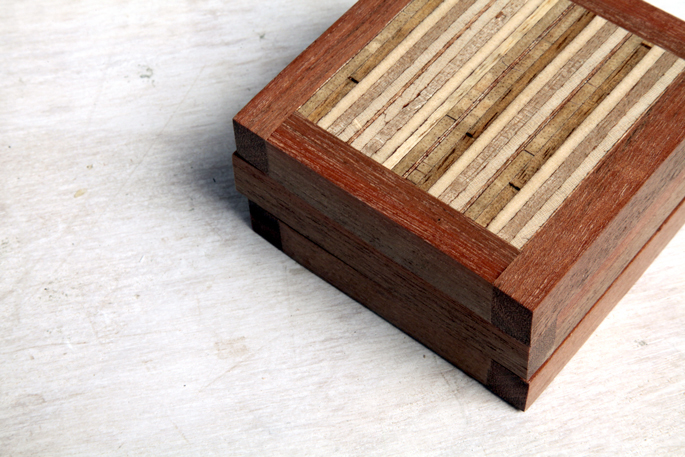
- The plywood is 3/4inch thick. So 4 strips of plywood at 7.5cm long by 1.5cm wide
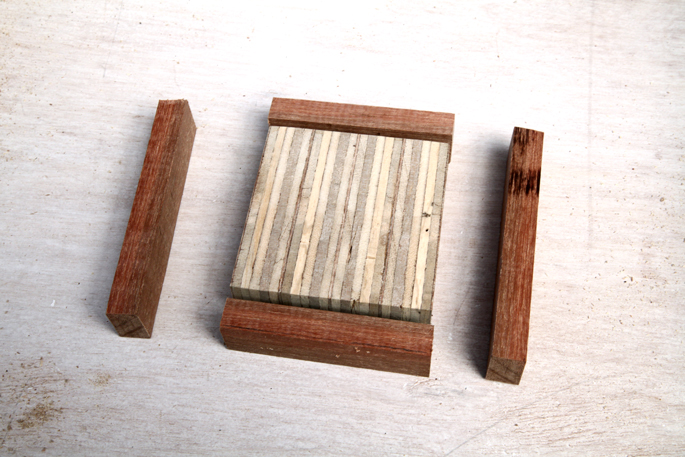
- The wood for the border is 1cm / 0.39inch thick. So 2 strips at 10cm long and 1.5cm wide
- 2 border pieces 7.5cm long and 1.5cm wide
To get these measurements, I measured a coaster I had which was 10 cm by 10 cm. Now I needed to create a square out of plywood and the border wood as close to 10cm as possible.
Measuring out the plywood thickness plus the thickness of the border pieces, I found out how many pieces of plywood I would need to get to 3.9 inches / 10cm. That is the width of the coaster – so the height needs to be the same.
When cutting the border pieces I measured a little extra ( a few millimetres) so that they can be sanded down and made even with the plywood later.

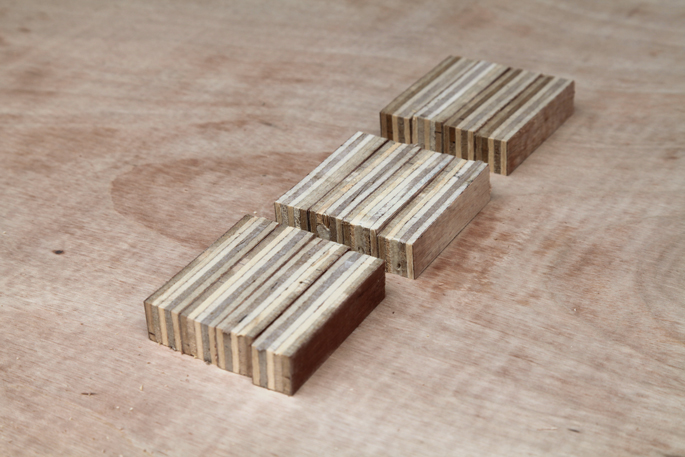
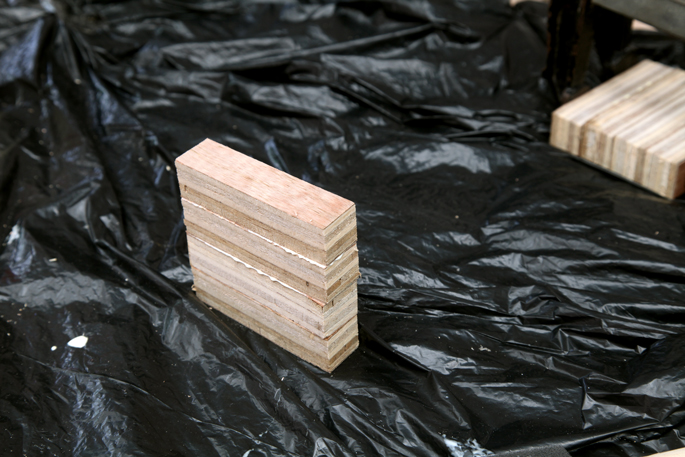
STEP 2: Glue and clamp the plywood strips
The plywood pieces were then glued together and clamped down in place.

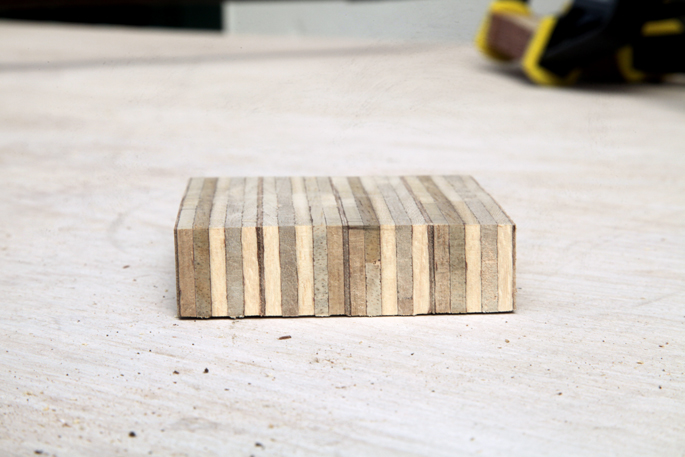
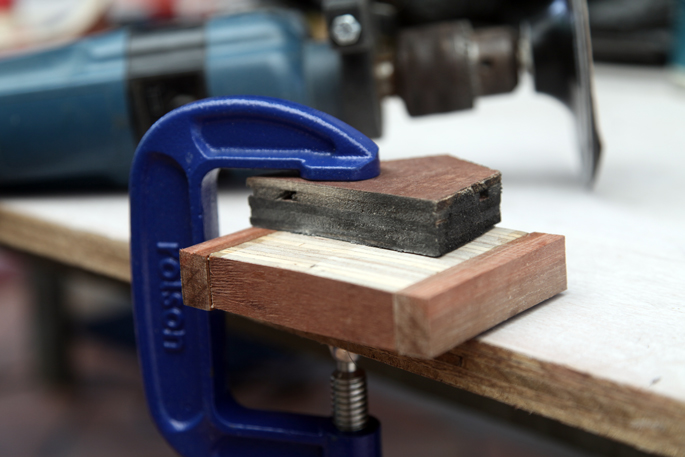
STEP 3: Sand down the ends
Once the wood glue has dried (it takes 30 minutes) the next step is to sand down the ends of the plywood – it needs to be completely flat so we can glue the border pieces.
Put a piece of scrap wood on top of the plywood block, and clamp it down to the table (the scrap wood protects the plywood from getting damaged). Sand down the ends so they are flat.
Also sand the top and bottom of the block if the plywood pieces are uneven.
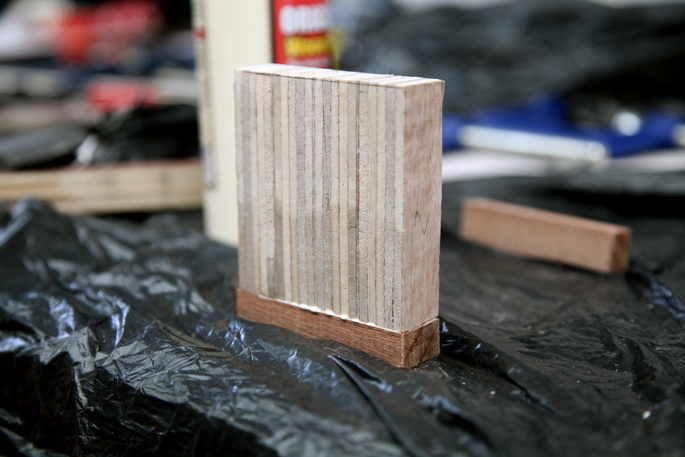
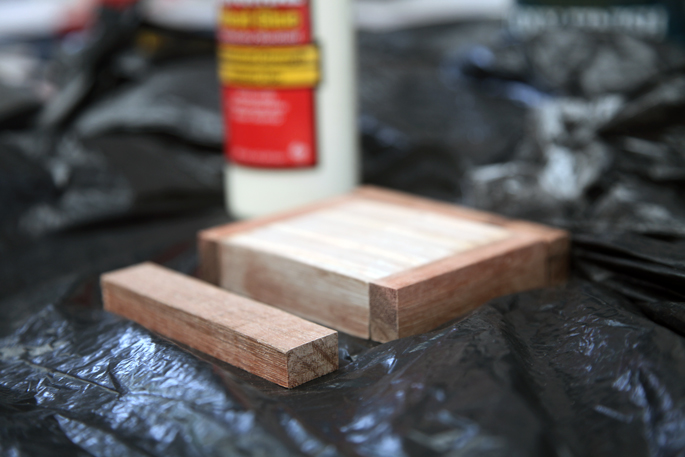
STEP 4: Glue the short ends first
Glue the short border pieces first to the ends of the plywood and clamp them in place.
STEP 5: Sanding down the boarder pieces
Once it has dried, sand down the 2 boarder pieces even with the plywood pieces
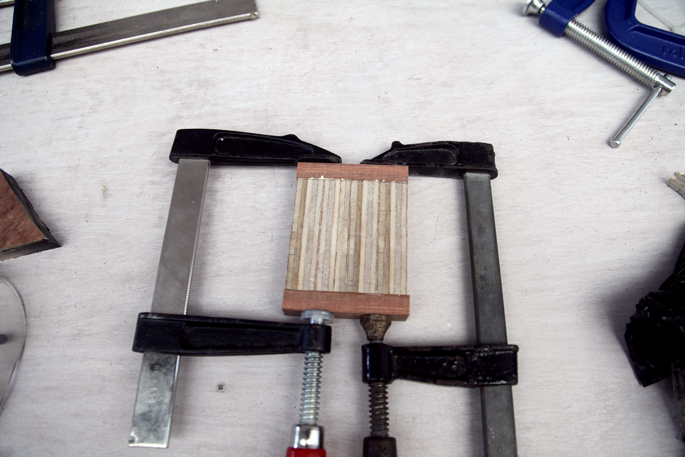
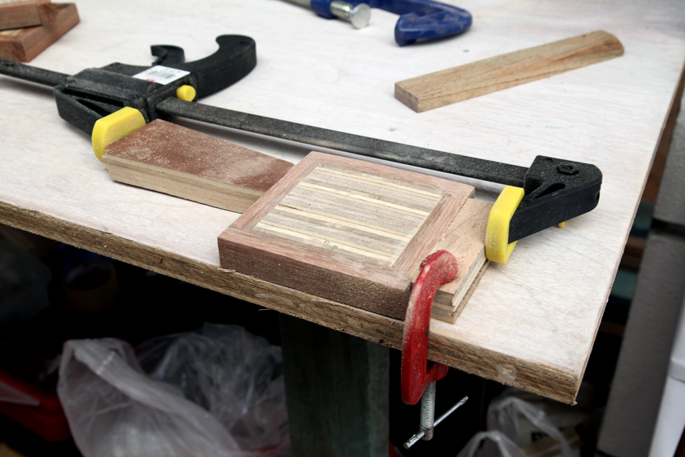
STEP 6: Glue the long boarder pieces
Glue the long border pieces to the sides of the plywood block and clamp them in place
STEP 7: Sand down the new boarder sides and the top and bottom
Once the glue has dried, sand down the long border pieces so they are flat with the short border pieces. Then sand down the top and bottom of the coasters to make them flat.
A good way to clamp the coaster down to sand the top and bottom, is to clamp a scrap piece of wood to the table, then clamp another piece of scrap wood sideways against the coaster (like in the picture below)
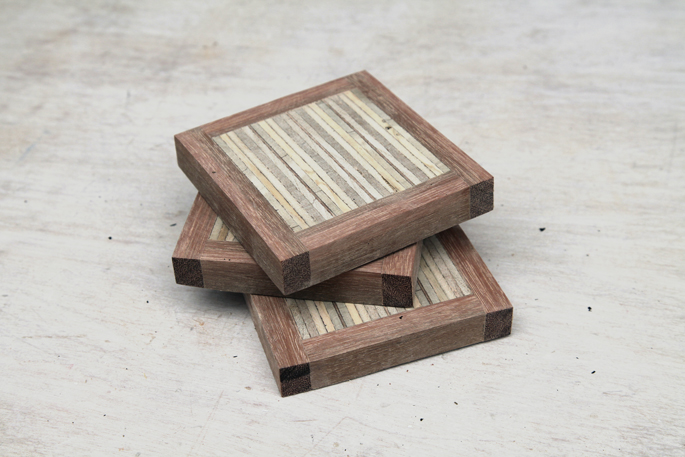
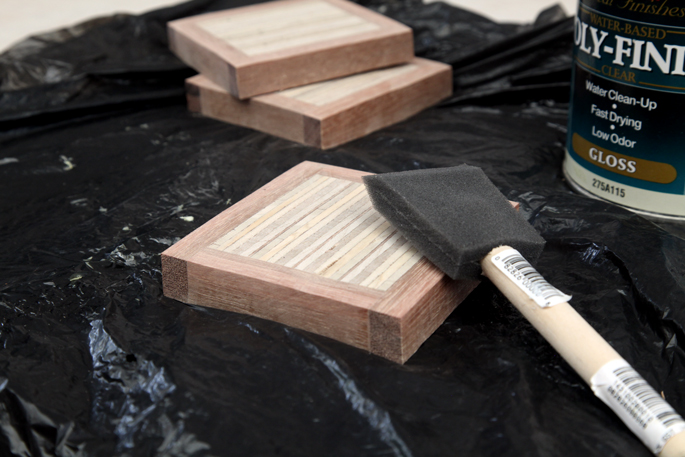
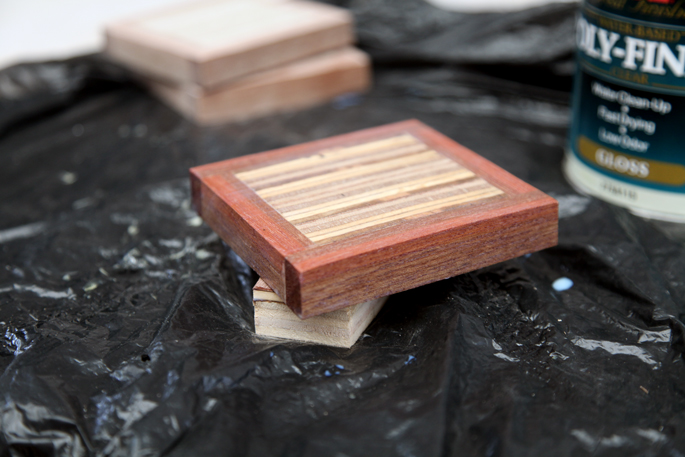
STEP 8: Adding a shine with polyurethane
Next cover the coasters with 2 coats of polyurethane, waiting the right amount of time in-between coats – for me that was 3 hours. And use a fine grit sandpaper to sand the coaster in-between coats of polyurethane.
Email me at jacob@hometreeatlas.com with photos if you make your own, or if you have any questions.
For more DIY projects and ideas, visit The Mill @ Home Tree Atlas


Comments are closed.