
![]()
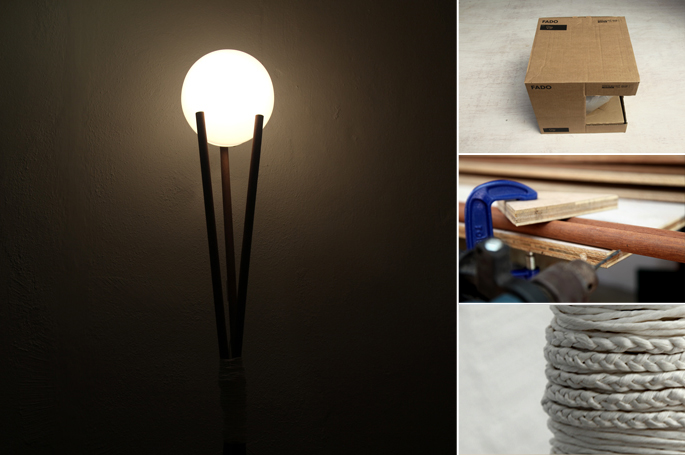
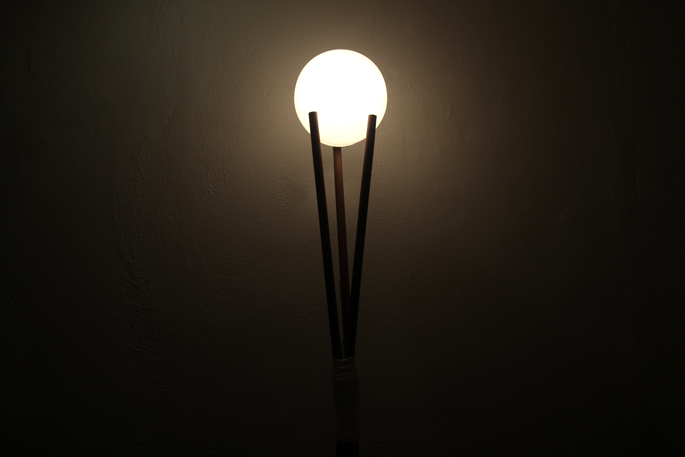
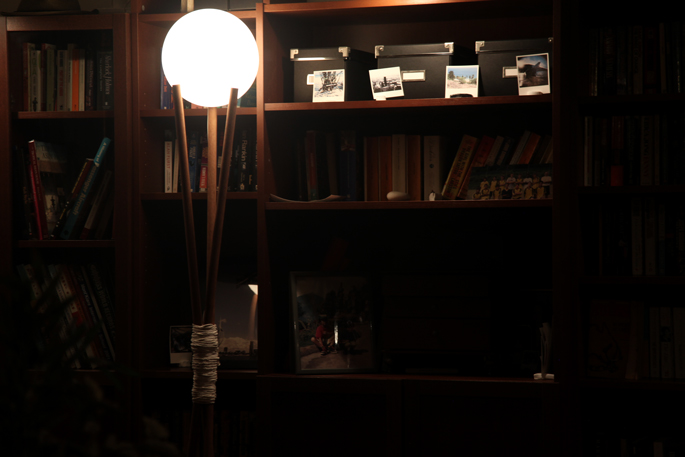
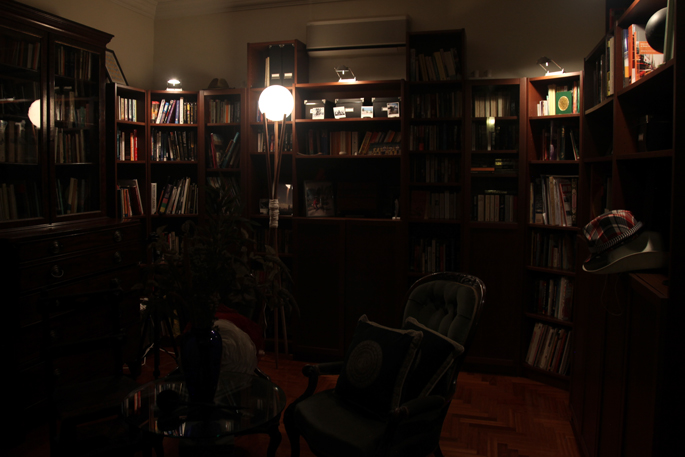
I saw the FADO table lamp in IKEA and thought that it would make for a interesting, almost mystical, floor lamp.
TOOLS
- Drill
A battery or corded drill will do – this is used to screw the dowels together
MATERIALS AND SUPPLIES
- 3 Wooden Dowels
I was able to find some dark ones which I liked
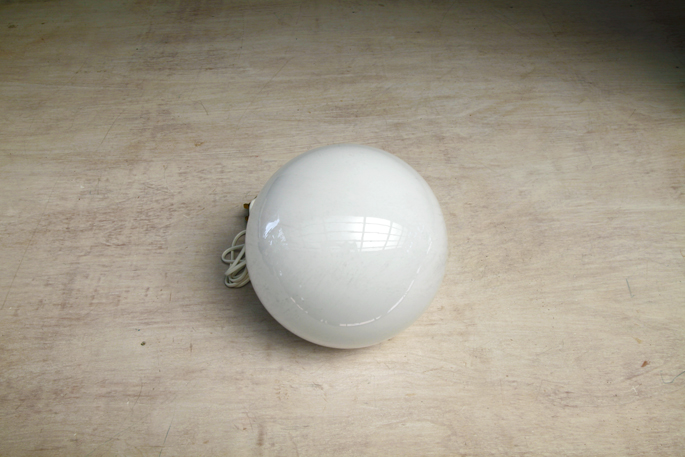
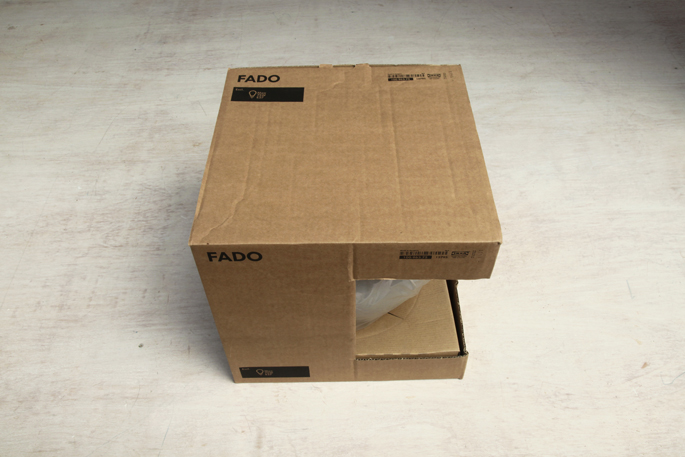
- IKEA FADO Lamp
A glossy white globe table lamp available here from Amazon
- String
This is used to cover up the screws connecting the dowels. I would of preferred to of used leather, and might change it up one day.
- Screws
2 screws are needed to connect the dowels together
INSTRUCTIONS
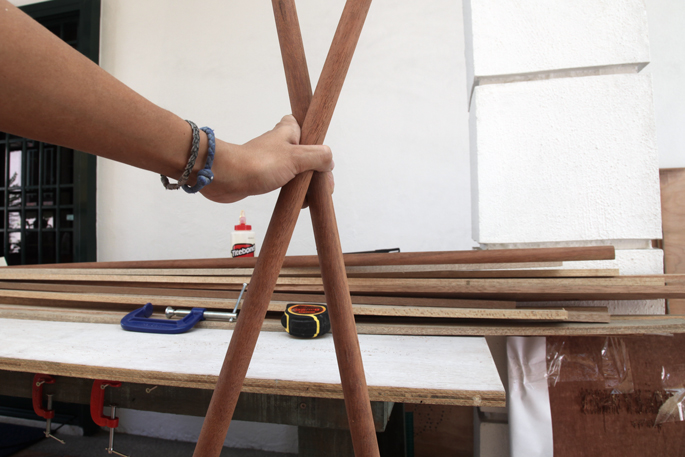
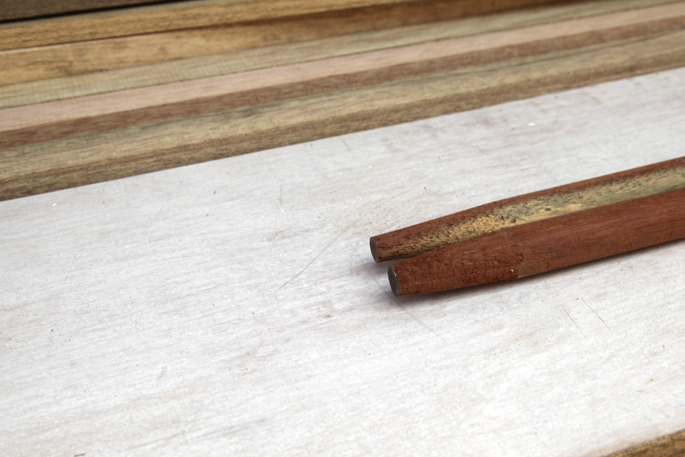
STEP 1: Marking out the dowels
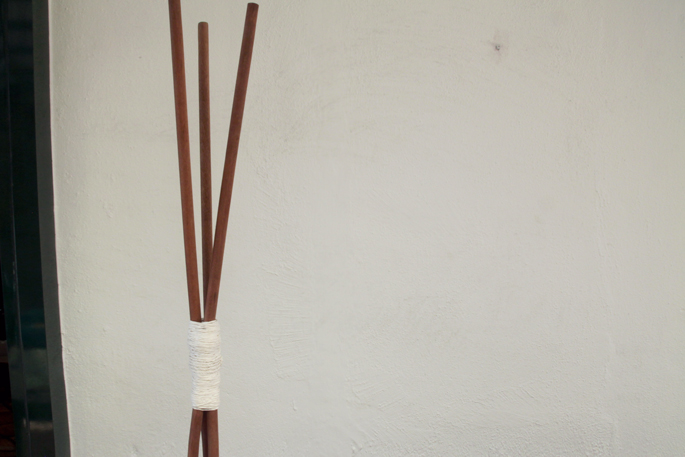
Take the 3 dowels and stand them up. See at which point is best for them to be connected – and mark it. In my case, it was just above half way.
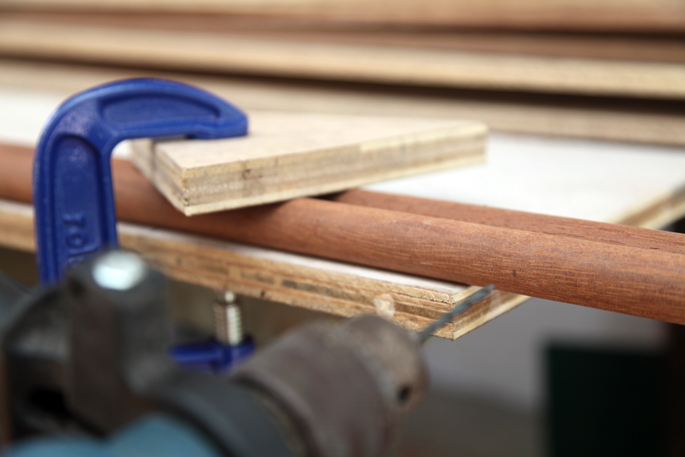
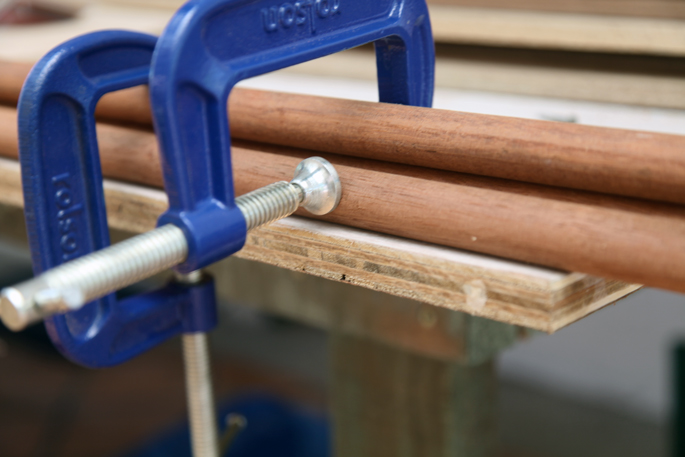
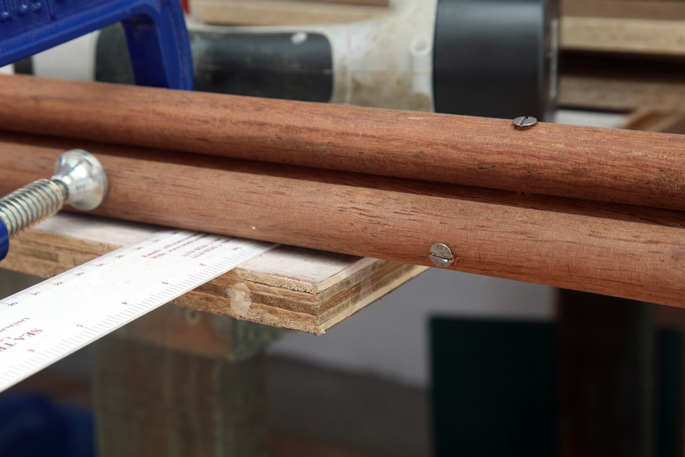
STEP 2: Drilling the dowels
Lay 2 of the dowels on the workbench, aligned at the bottom. Clamp them down using a scrap piece of wood. And use a drill bit slightly smaller than the size of your screw to make a pilot hole
STEP 3: Screwing the dowels together
Once the pilot hole is made, you can then screw the two dowels together
STEP 4: Connecting the last dowel
Now do the same with the 3rd dowel, screwing it slight lower than where the other 2 are connected
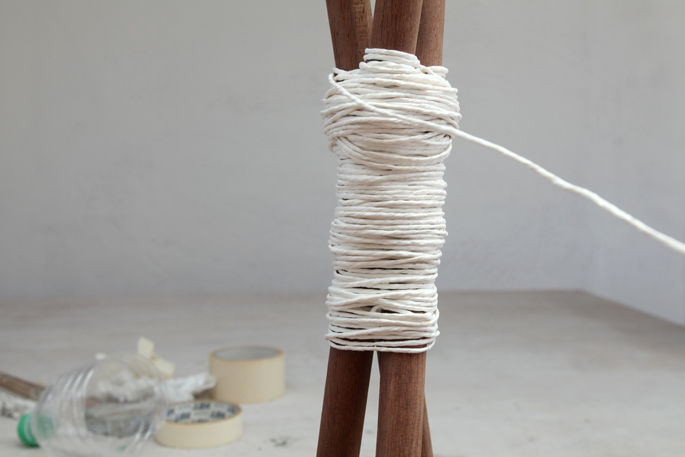
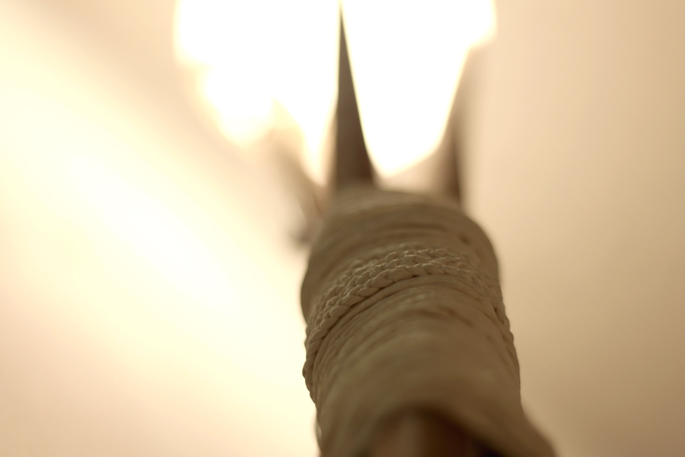
STEP 5: Wrapping the poles
Using string, wrap the poles where the screws are. This is to hide the screws and to keep the dowels in place.
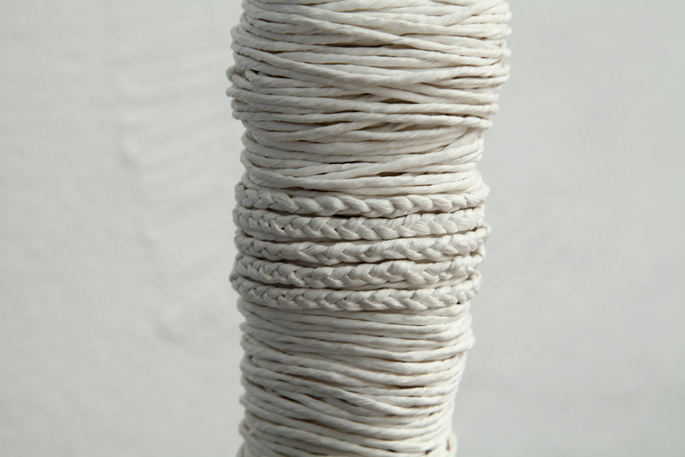
STEP 6 OPTIONAL: Braiding the string
Just for an added touch, I braided some string to wrap around the center. This is done by cutting 3 long pieces of string the same length. Tie them together at the top to create a knot. Tape the knot down onto your workbench. To braid them you take the first string to the left and go over the second one, and then under the third one. Now take the first string to the left, and go over the second one, and under the third one. Keep repeating this – making sure that when you go over and under that the string gets tight at the top where it is being braided.
STEP 7: Adding the light
The FADO lamp has these holes in the base that make it easy to mount to the top of the dowels. You can also slide the lamp in-between the dowels.
Email me at jacob@hometreeatlas.com with photos if you make your own, or if you have any questions.


Comments are closed.