
![]()
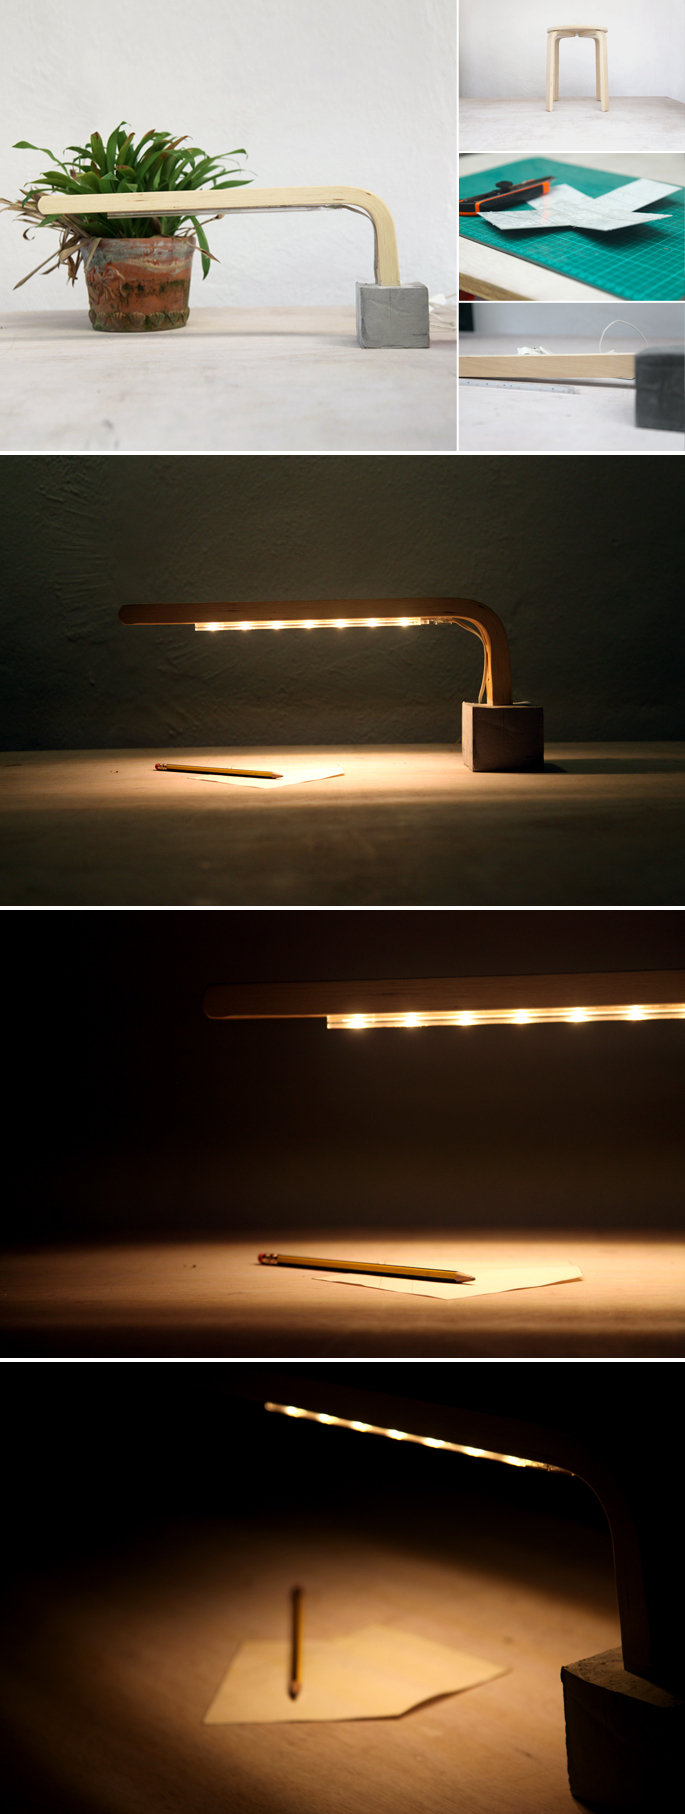
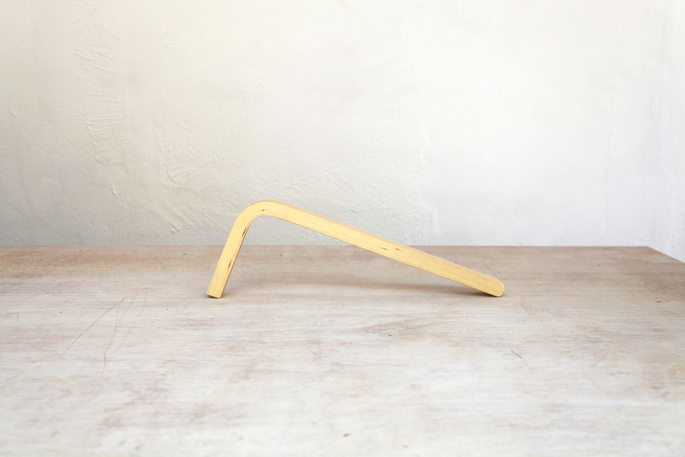
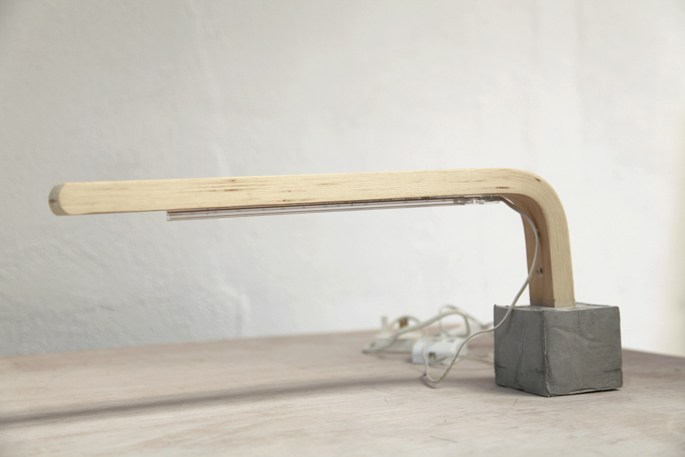
The curved leg of IKEA’s FROSTA stool looked like it could be turned into a stylish lamp. The good thing about this project is that you can rebuild the stool using the left over 3 legs – creating a tripod stool. And no tools are need to do all of this.
MATERIALS AND SUPPLIES
- IKEA FROSTA Stool
I had one that was already being used as a stool
- Concrete and Rubber Gloves
Premixed bags like Quikrete are easy to use since you just need to add water. But I used a bag of concrete and a bag of sand and made my own mix.
- LED Lights and Superglue
I used some basic IKEA DIODER LED lights which I had
- Paper, Cardboard, and Stanley Knife
This is to make the template and the box that will be used to pour the cement into
INSTRUCTIONS
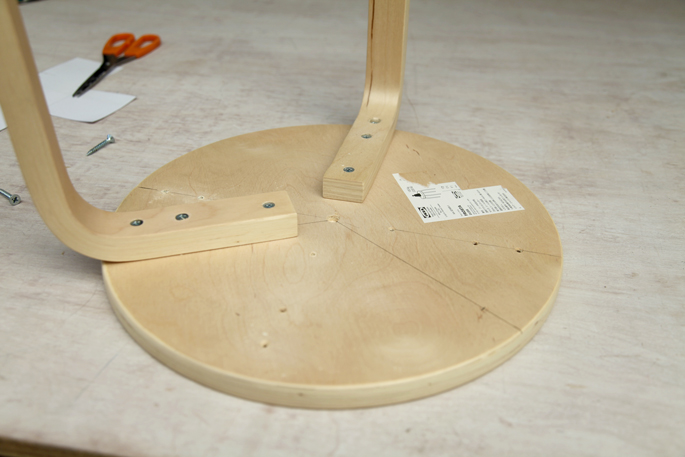
STEP 1: Taking the stool apart
Since I’m using a FROSTA stool that I already had, I needed to take it apart
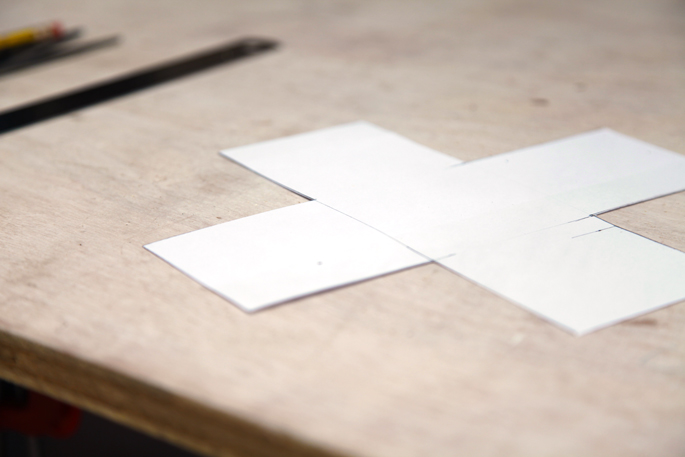
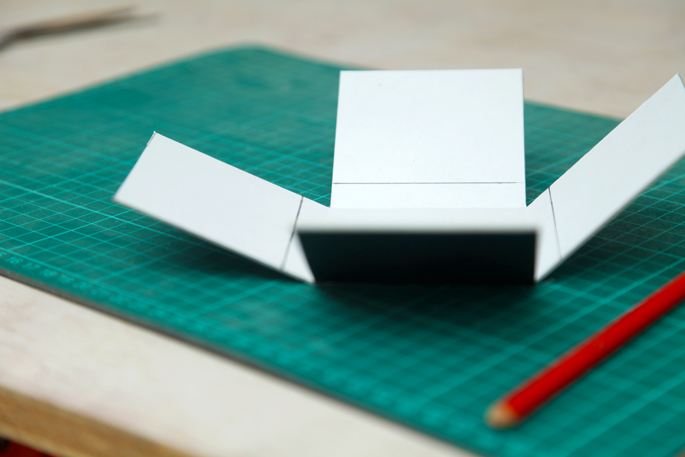
STEP 2: Making the template
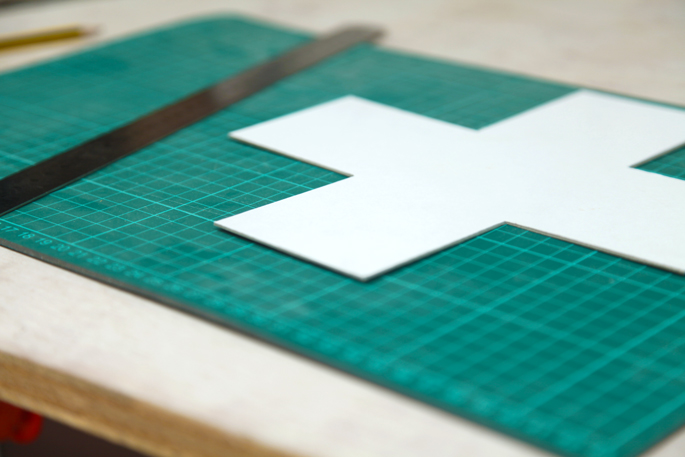
The next step is to make a box for the cement. Draw a cross with 4 and 1/2 inch wide and tall panels. After cutting it out, trace it onto some thick cardboard.
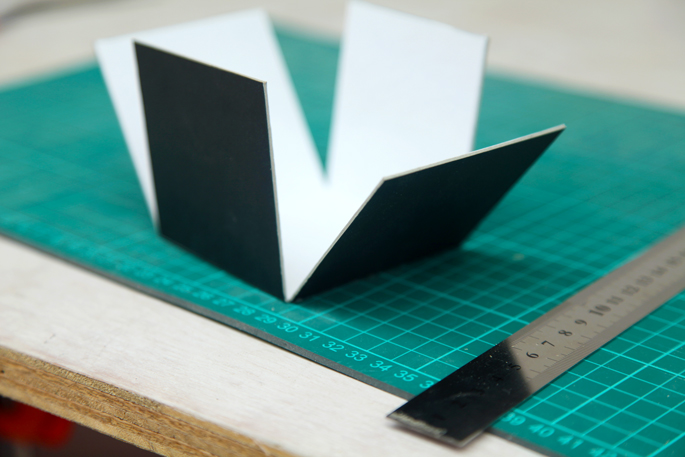
I scored the insides of the box to make it easier to fold the sides.

STEP 3: Marking the base
When the cement is poured, you’ll want to have a bit of a base before putting in the wooden leg. So mark 1/2 inch on all sides of the box.
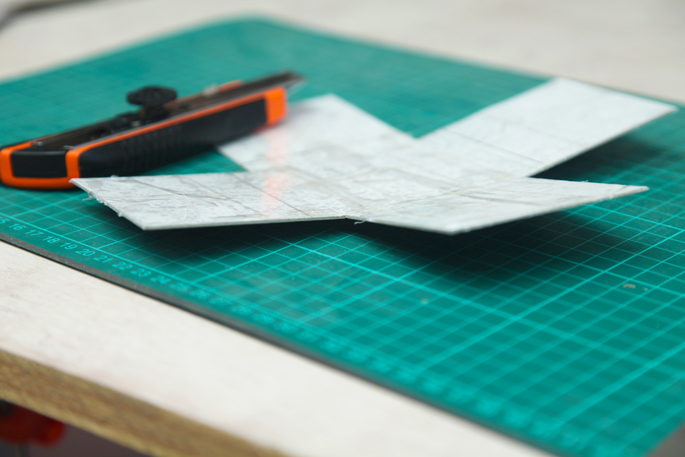
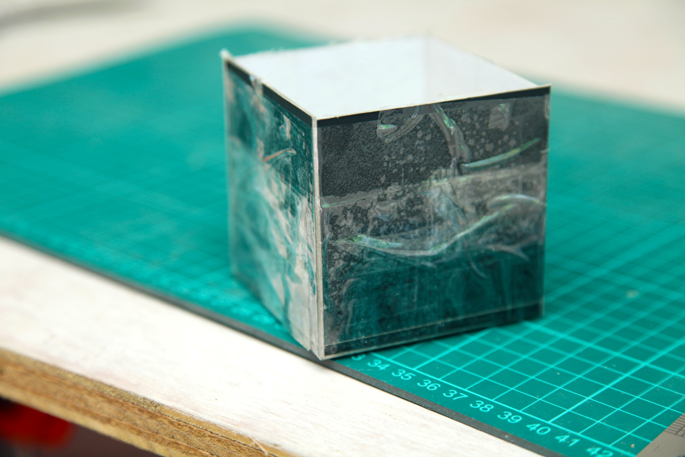
STEP 4: Waterproofing the cardboard and taping it together
Cover the inside of the template with tape to protect it from the wet cement. Then tape the sides together.
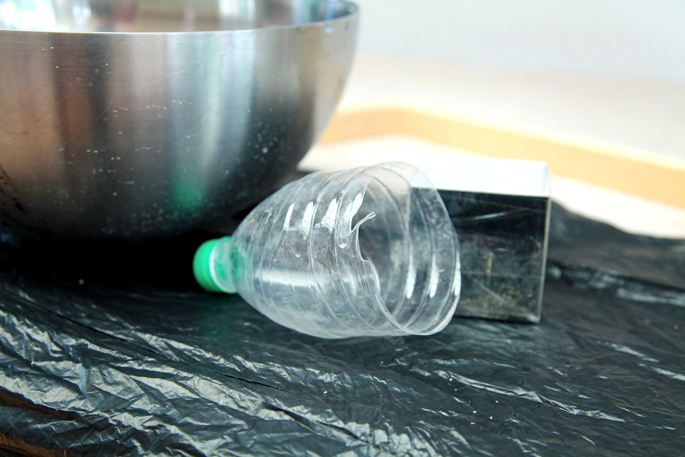
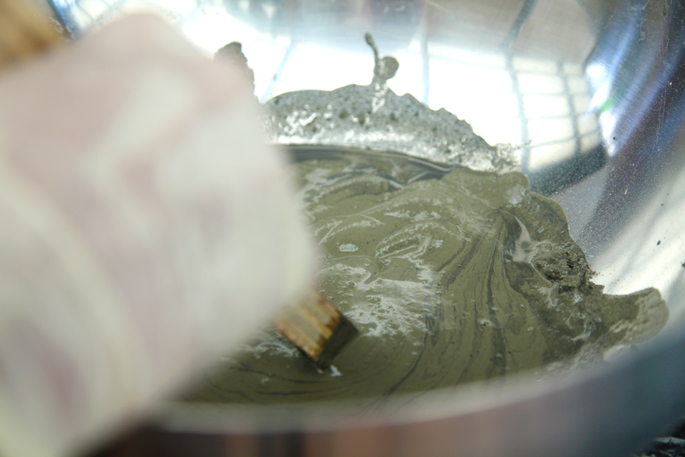
STEP 5: Mixing the concrete
You’ll need some rubber gloves when mixing the concrete, as it can burn your skin. If you are using Quikrete, you’ll just need to follow the directions and mix it with water. I used the top of a cut off water bottle to mix 1 part concrete with 2 parts sand with enough water to get a wet mix.
STEP 6: Pouring the cement
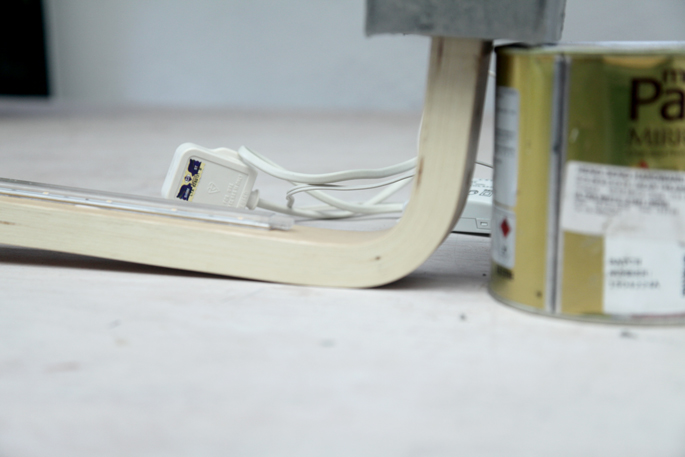
Pour the cement until you reach the 1/2 mark. Then shake the box a bit to flatten out the cement. Now you can put the stool leg into the box, using books/scrap wood/paint tins/anything to hold up the leg at the right level.
As you pour the cement, use a thin stick to poke all the way around the box to help release the air bubbles. Tapping on the outside of the box lightly also helps release air bubbles.
I had to put some scrap wood onto of the stool leg to hold it down, as it would try and float up as I poured in the cement.
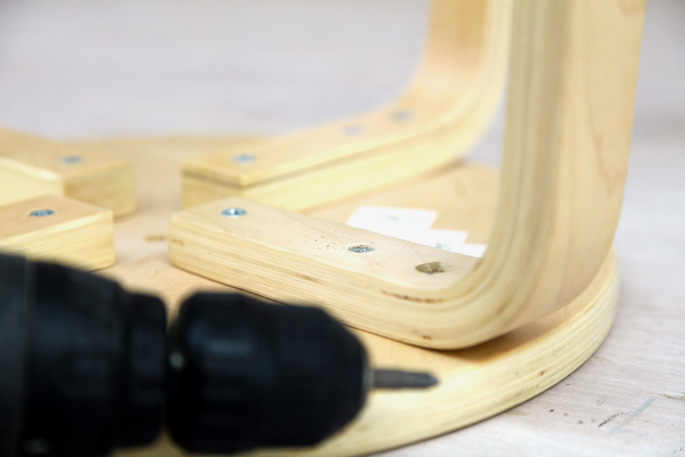
STEP 7: While you wait – the FROSTA Tripod Stool
I left the cement to dry overnight. While I was waiting I used this tutorial by Apartment Therapy to rebuild the stool, using 3 legs.
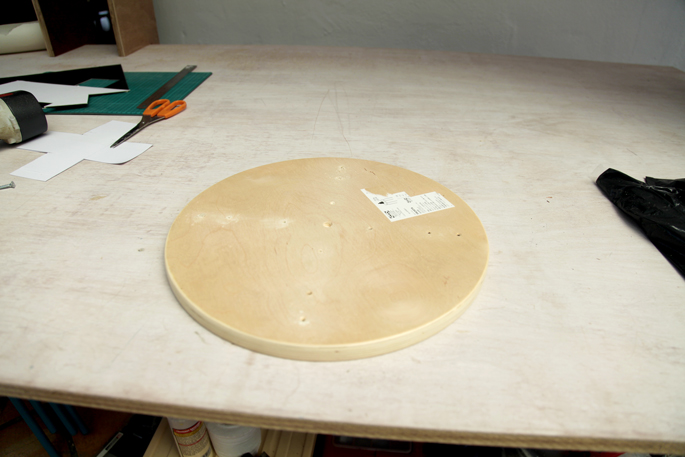
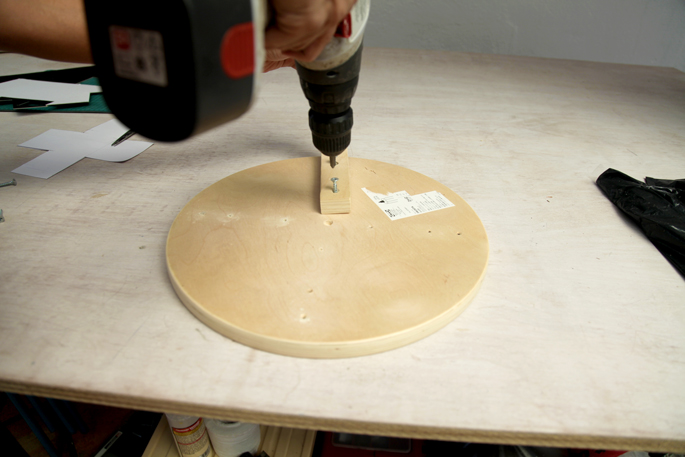
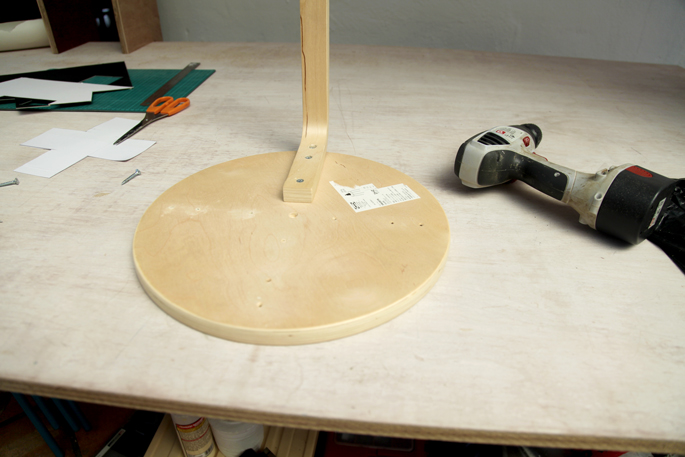
STEP A: Screw one leg
Screw one of the legs back into the seat, in a set of holes that are already there
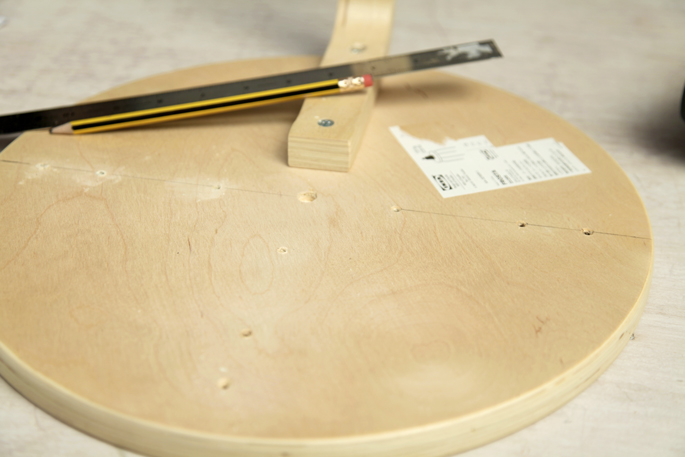
STEP B: Draw the horizontal line
Following the screw holes on opposite sides, create a line across the seat.
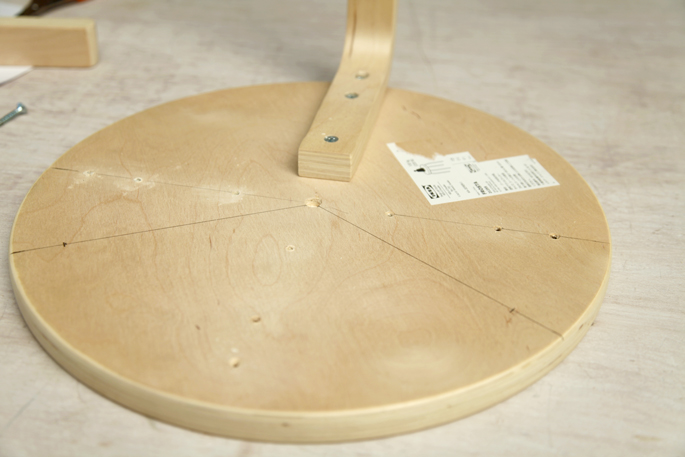
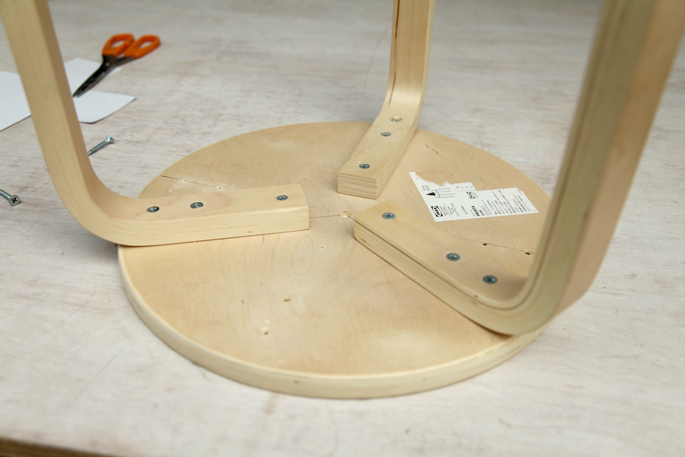
STEP C: Marking the new lines
Make a mark 3 and 5/8 inches (9.2cm) down from the horizontal line along the edge on both sides of the stool. Then connect the marks with the centre hole in the stool.
STEP D: New hole placements
Measure the distance from the edge of the stool to one of the first screw holes where the legs use to be. My measurement was 1 inch from the edge. Make this mark on your lines, this is where you’ll need to screw the first screw. Then line up the end of the leg with the line and screw the next screws in.
STEP 8: Removing the cardboard
I waited overnight before removing the cardboard box. Once it was removed I waited for about half a day for the sides and bottom areas to fully dry.
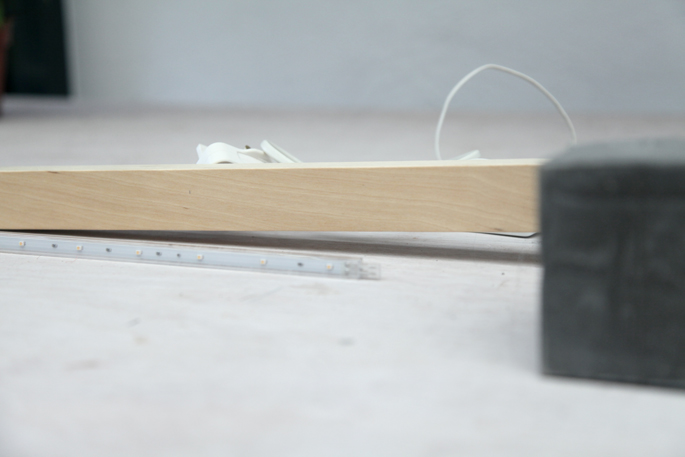
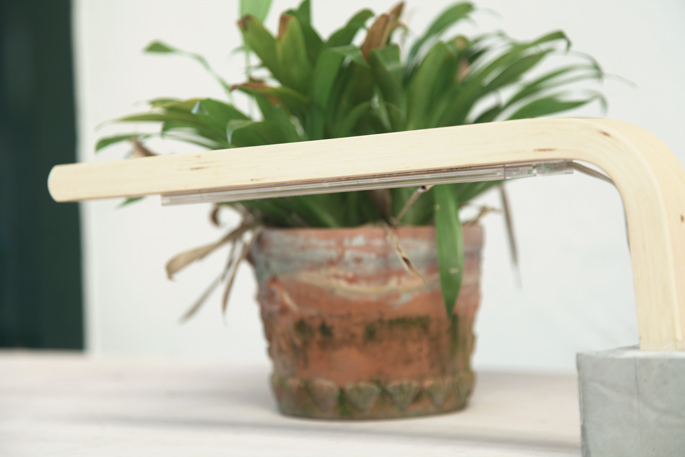
STEP 9: Adding the Light
Next glue the LED lights to the underside of the stool leg – not too close to the curve since it will need to be connected to the power supply.
Email me at jacob@hometreeatlas.com with photos if you make your own, or if you have any questions.


Comments are closed.