
![]()
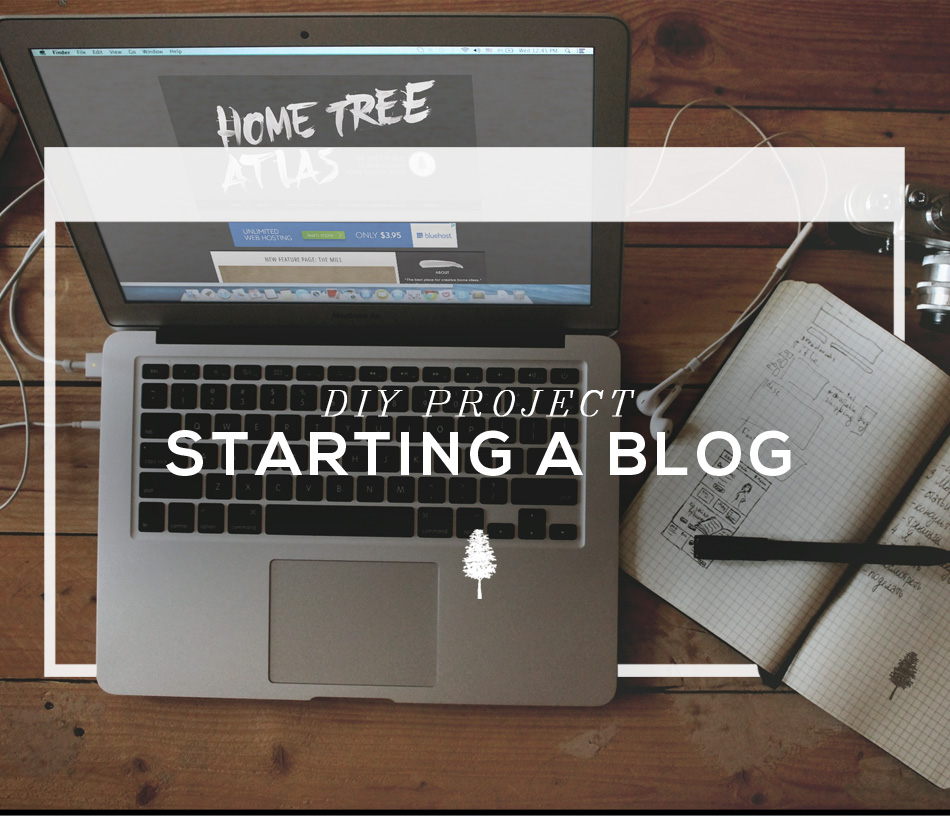
Have you been pinning all of your favorite home designs, crafting ideas, outfits, or recipes? Who hasn’t. Do you want to put all of this knowledge onto a blog to help others? It’s time to start a blog, DIY style.
It will only take 4 minutes to get you set up with a blog. You don’t need any special skills or software – just 4 minutes. And if you ever get stuck or have questions you can send me a message here and I’ll be more than happy to help you set up your own personal space online.
- If you need help coming with a memorable and meaningful blog name, have a look at my post here: How To Come up with Creative Blog Name Ideas that are Meaningful
- If you want to know the biggest mistake new bloggers make, or what a host is, and whether to use Blogger/Blogspot or WordPress, have a look at my blogging tip sheet here: Blogging Tip Sheet: The Right Way to Start a Blog
How To Start A Blog

There are only 3 things you’ll need to start a blog:
- A domain name. This is your blog’s address on the web.
- A hosting account. This is where you store all of the blog posts, texts, and pictures. It is like a hard drive – but online. I use BlueHost for Home Tree Atlas at it will cost you between $4.95 and $6.95 a month.
- WordPress. This is an easy to use blogging platform. It will help you create blog posts easily.
If this sounds complicated, hang tight. It really isn’t. In 4 minutes (or less – let’s race!) you’ll have your own blog – no sweat.
Step 1) Your Domain Name and Hosting
So what is your blog’s name going to be?
Let’s head over to BlueHost to see if it is available. The good thing about BlueHost, is that they will give you a free domain name with their hosting. This is the hosting company I use and they have been awesome.
Go ahead and enter your blog name in the box below:

You want to try and get the .com version of your blog name. If it is not available then you’ll have to come up with a new name, or adjust the name you want. I know it can be hard to find a name that is perfect and at the same time available.
A way to adjust your blog’s name to find something available, is to add a word.
Say you wanted:
- JillsHouse.com
- BohemianLiving.com
- DIYSandra.com
- MyCrafts.com
Some ways to adjust them would be:
- JillsHouse.com || JillsCountryHouse.com, JillsFamilyHouse.com, JillsEcoHouse.com
- BohemianLiving.com || ABohemianLife.com, YoungandBohemian.com BohemianCityLiving.com
- DIYSandra.com || SandrasGardenWorkshop.com, SandrasDIYHome.com, SandraAndDIY.com
- MyCrafts.com || ACraftyLife.com, CraftsAndMe.com, MeMyselfandCrafts.com
Play around with words until you find a name you love and one that is available.
Once you’ve entered a name that is available, BlueHost will then send you to the Sign Up page where you’ll create your hosting account. There are a few different hosting options and extras to choose from. To keep it simple, here is what I use and recommend:

You can always create a free blogging account – on WordPress or Blogger. But with these you don’t really own your blog, and you don’t have a professional looking domain name. Also, if you ever want to make money from your blog, there will be restrictions on putting up ads.
Once you have signed up for your hosting account with your domain name, you are only one more step away from writing your first blog post.
Step 2) Setting Up WordPress
All you need to do here is click on a few buttons and WordPress will be installed on your site. Here is how you do it.
First you need to log into BlueHost. Then go to your cPanel:

Next go down to the Website Builders section and click on the WordPress logo:

On the next page, go ahead and click the green Start button:

Next select your domain name in the drop down menu. Then click on the green ‘Check Domain’ button. (If a warning comes up that asks if you want to “overwrite” click the checkbox to say yes)

In the next section you get to enter your blog details. Click on “Show advanced options”. Enter your blog name, and create a sign in username and password. These will be used to log into your blog so you can write posts. Also select the “Automatically create a new database for this installation” box and the box to agree with the “terms and conditions”:


There, you’ve done it! You’ve created a blog. You can type in your domain name into your browser and see it..all fresh and brand new.
To log into your blog, type in your domain name and /wp-admin. So www.mydomain.com/wp-admin.
Now you are ready to start blogging.
Go ahead and pin this pic to let everyone know you’ve just created your own blog.


