![]()
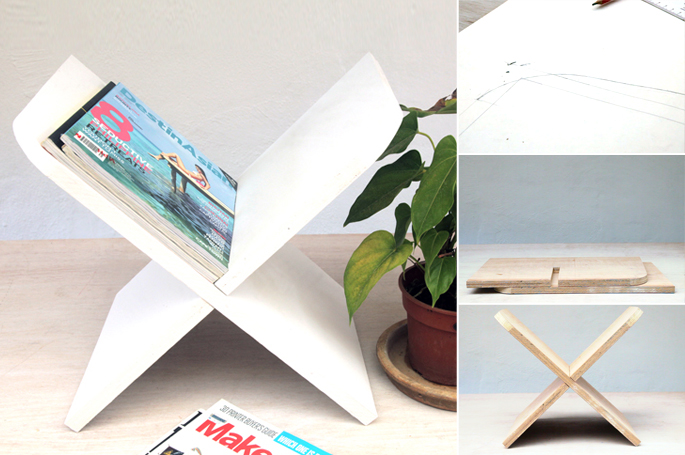
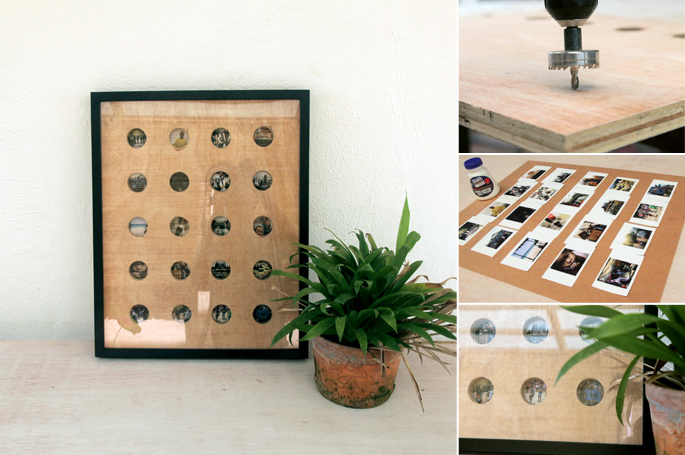
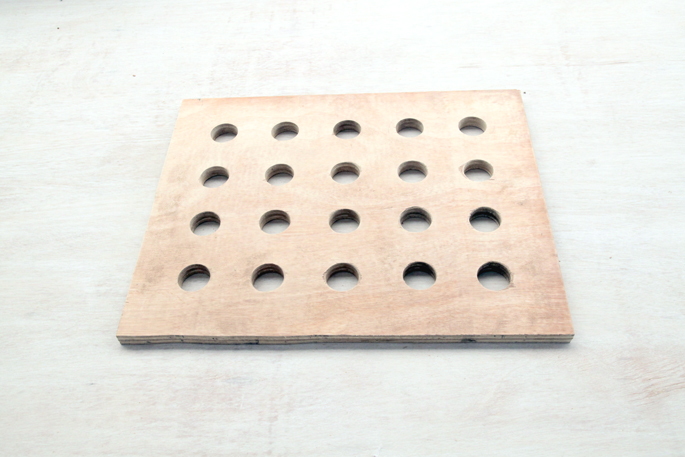
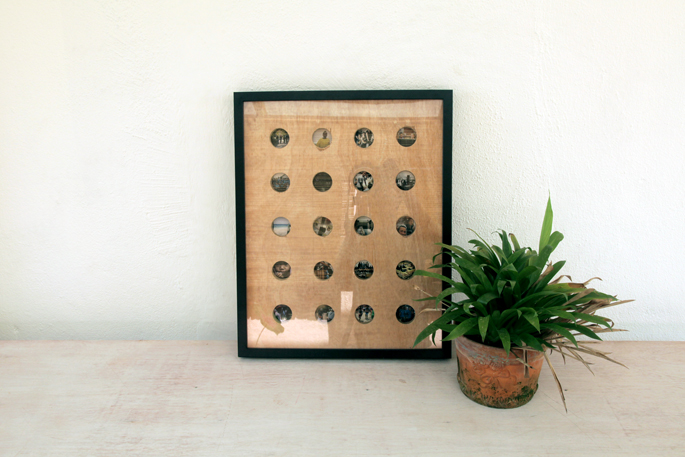
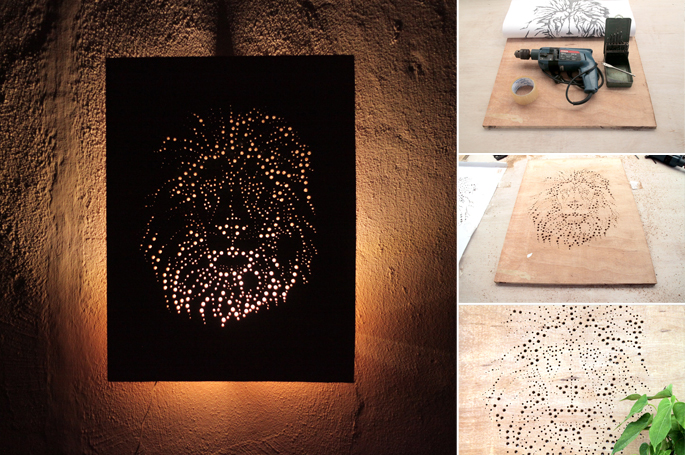
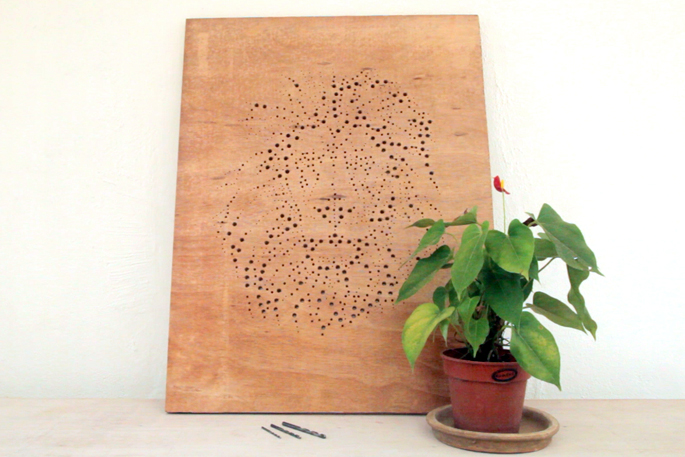
Drilling all of the holes did take some time, but in the end I was left with a unique decor piece. The beauty of this project, is that you can take any illustration and turn it into a unique art board.
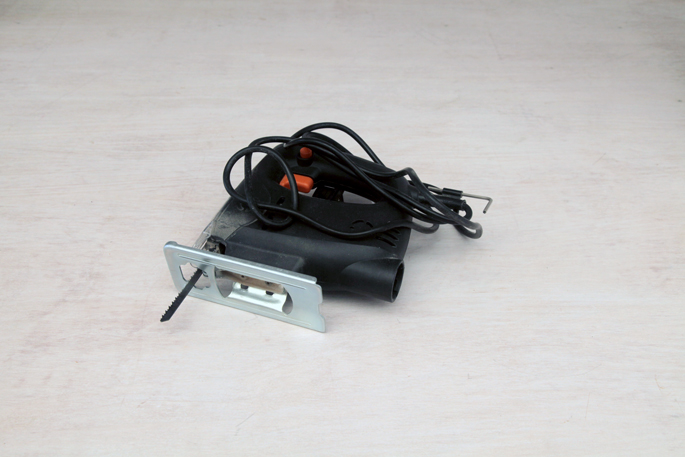
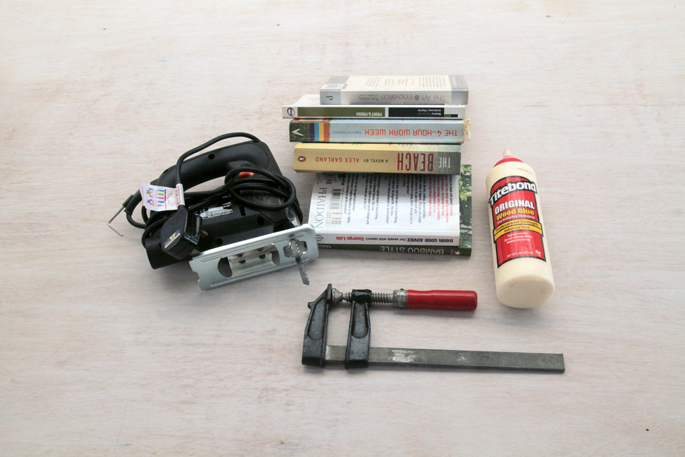
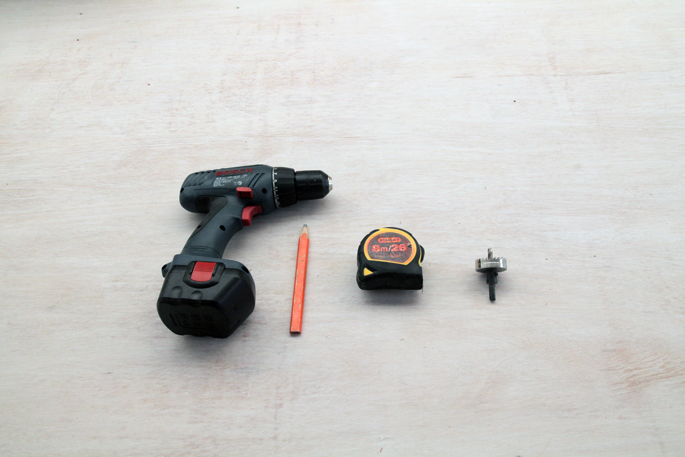
TOOLS
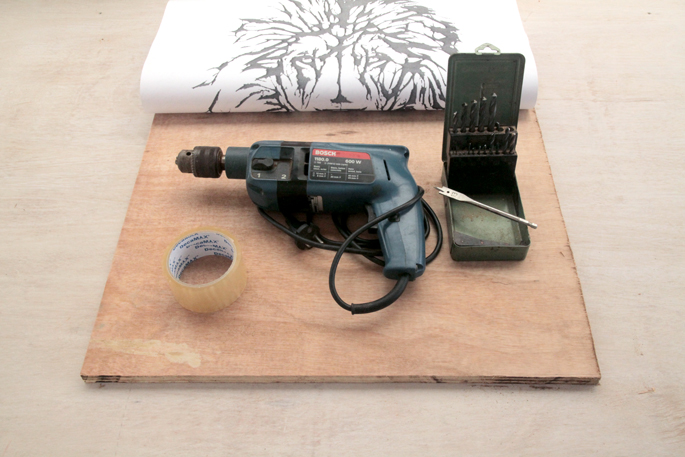
- Drill
I used a corded drill, but you could use a battery one if you use a thinner piece of plywood.
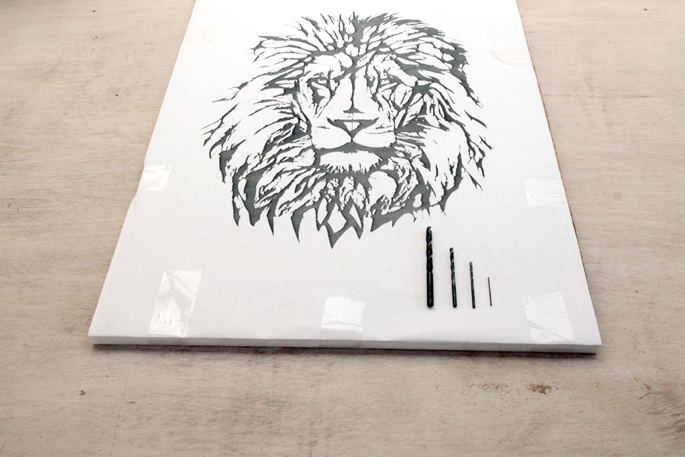
- Different Sized Drill Bits
I ended up only using 3 sizes of normal drill bits to create the design
MATERIALS AND SUPPLIES
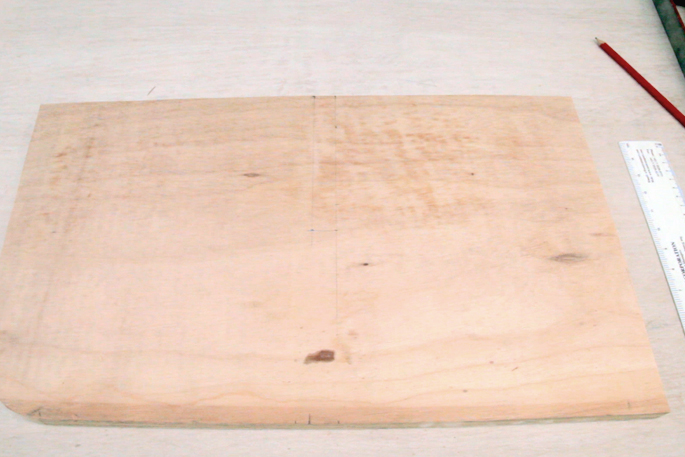
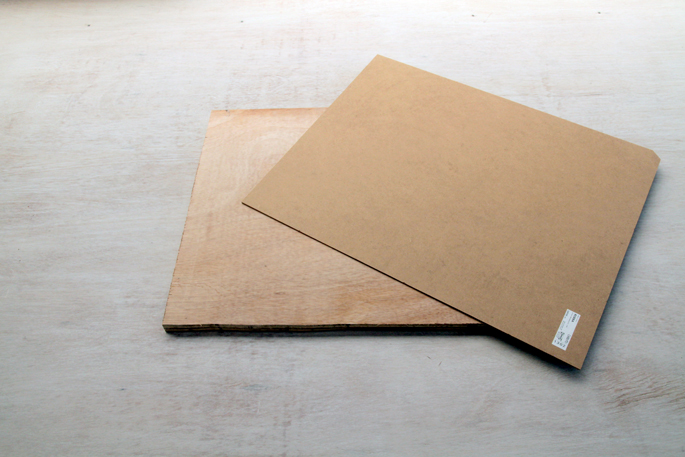
- Plywood
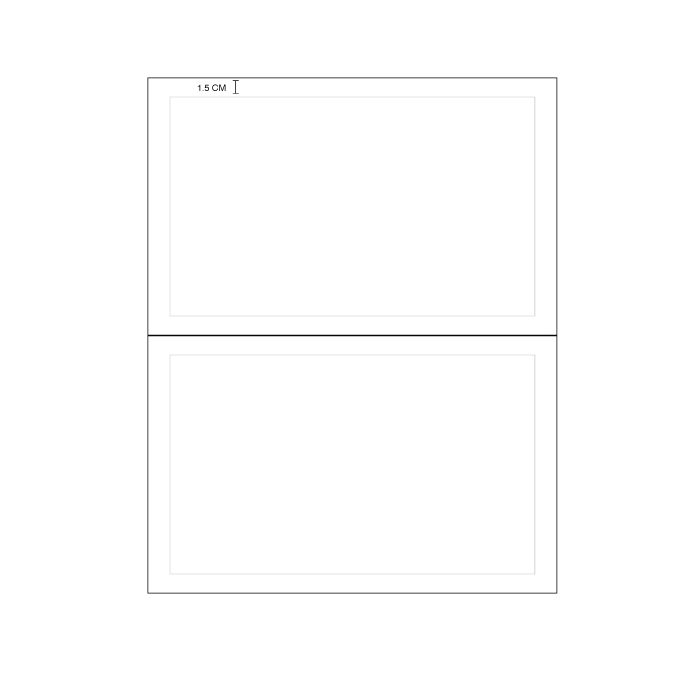
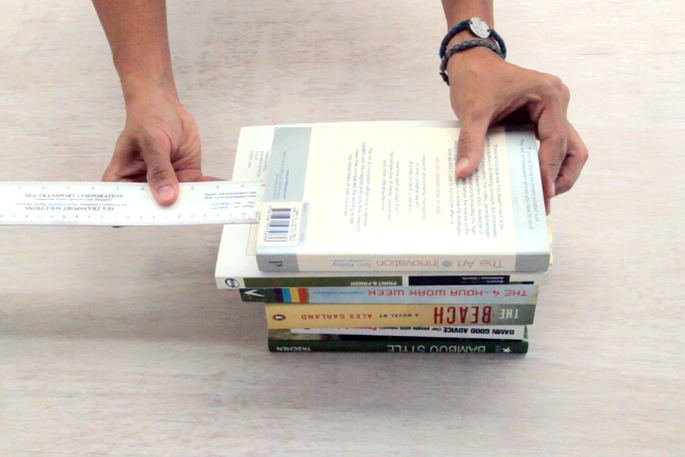
You need a sheet of plywood, cut to the size of your printed piece – in my case this is A1 size.
- Illustration
I wanted to create a design with a lion, so i searched for ‘Lion Illustration’ on google. Search for illustrations, since you want a simple black and white design to work with.
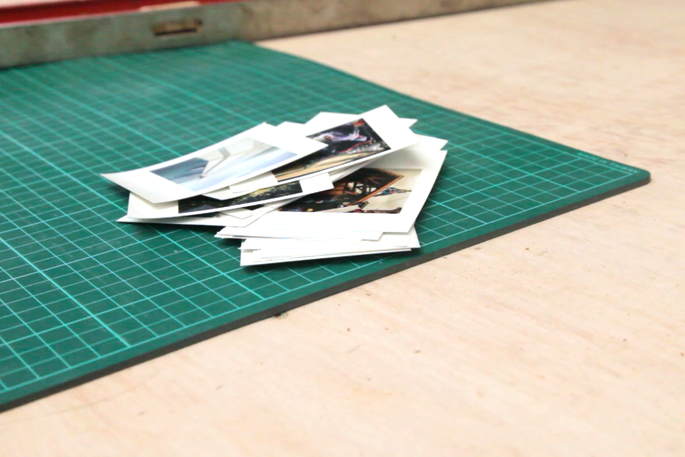
- Printed Piece
You can get really cheap large prints by going down to your local printers and asking for a Blueprint/Plotter/Engineer print – which will cost you about $5 for a huge A1 size black and white print.
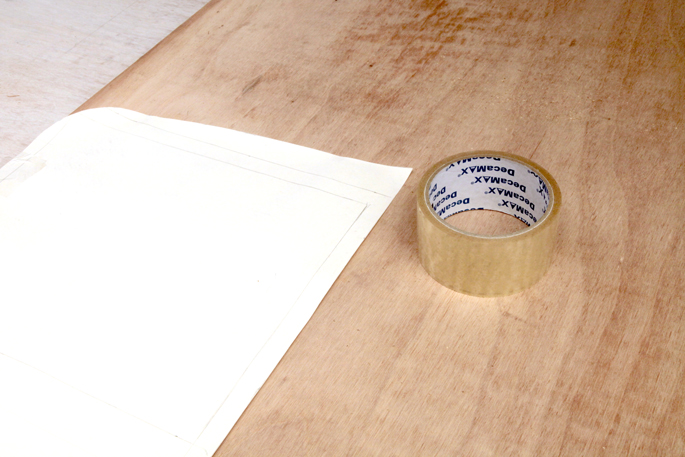
- Tape
This is used to stick the print onto the plywood
- Fine grit sandpaper
- Polyurethane
I gave my final piece 2 coats of polyurethane to give it a slight gloss
OPTIONAL
- IKEA DIODER LED lights
To give the decor piece an added dimension at night
INSTRUCTIONS
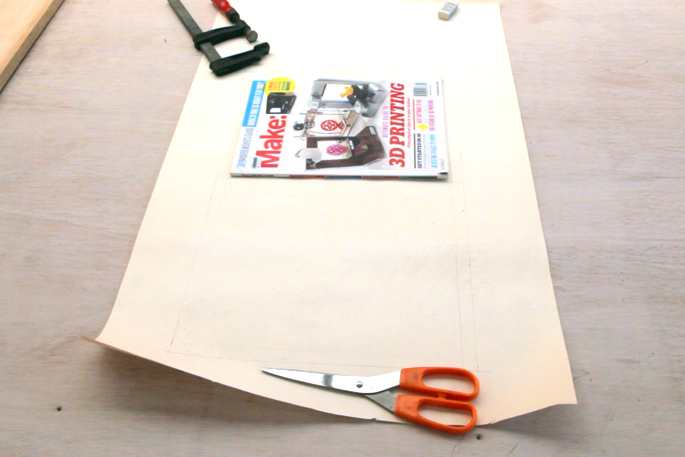
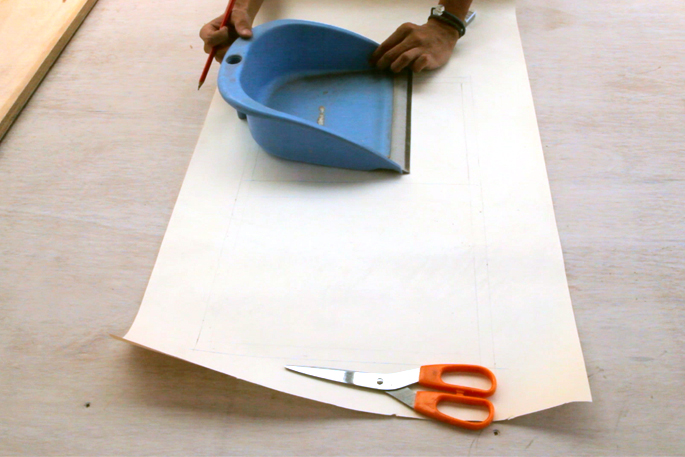
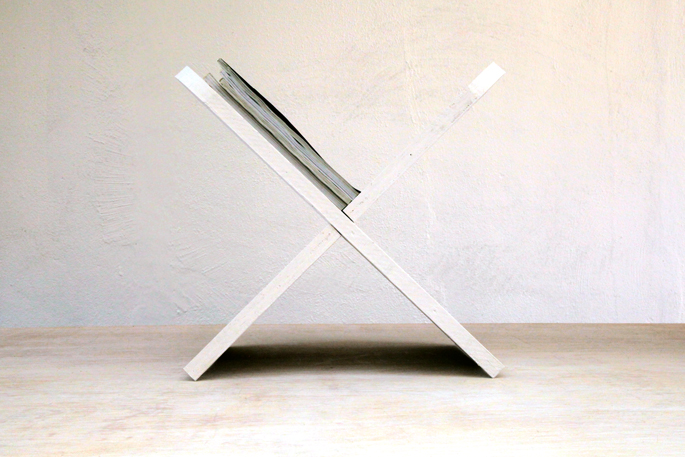
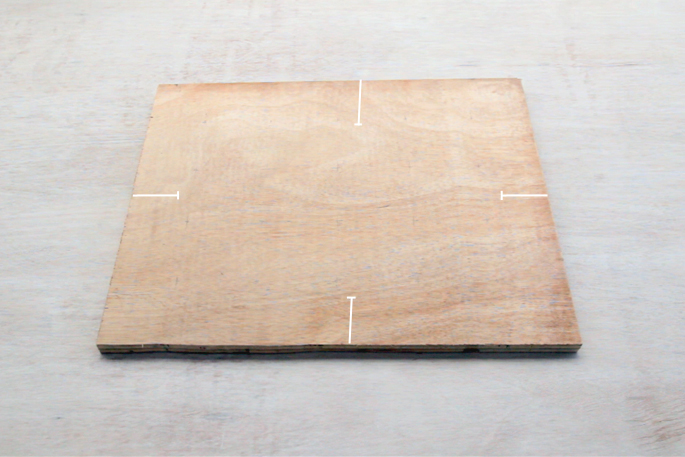
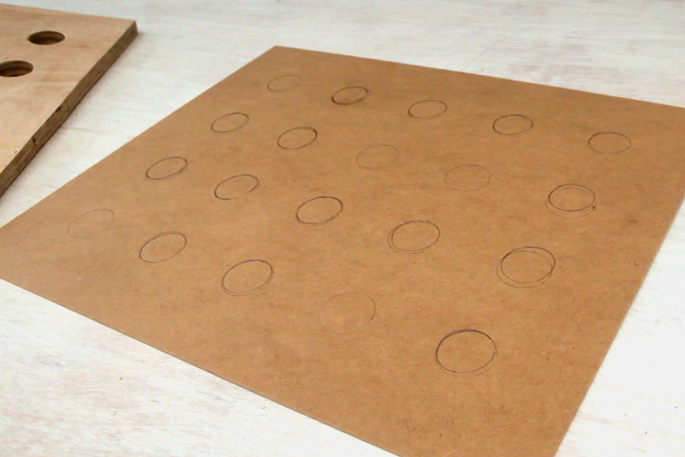
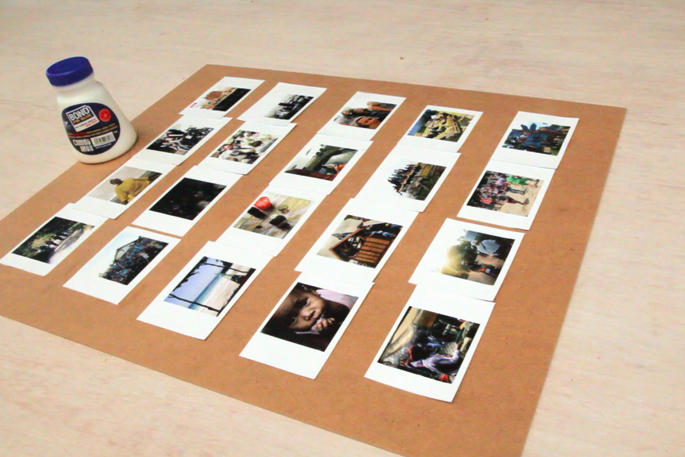
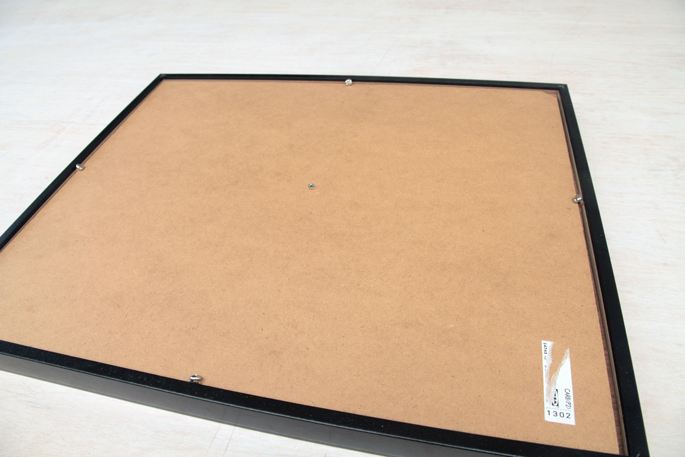
STEP 1: Setting up the board
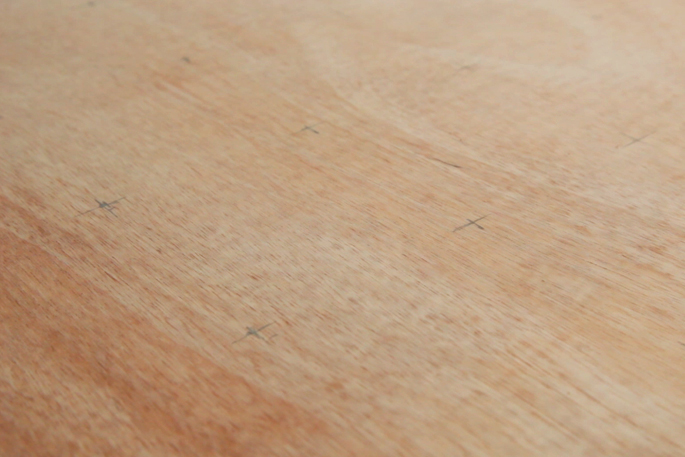
Once you have the plywood the same size as the illustration, glue the print to the plywood.
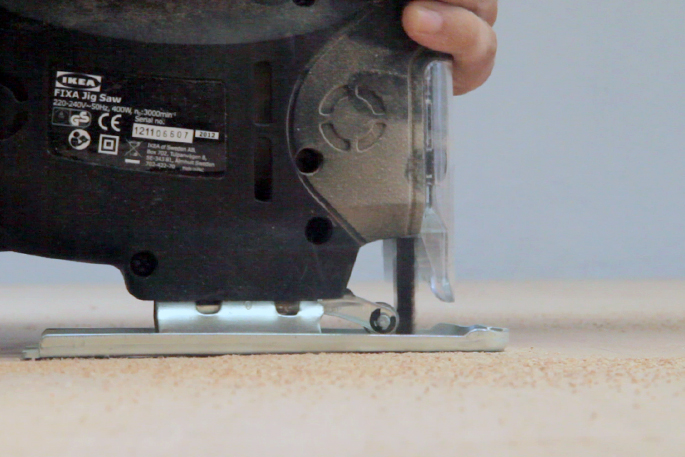
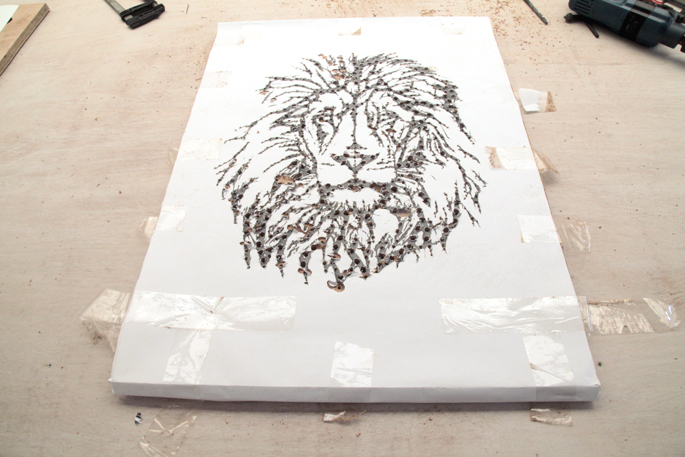
STEP 2: Start drilling
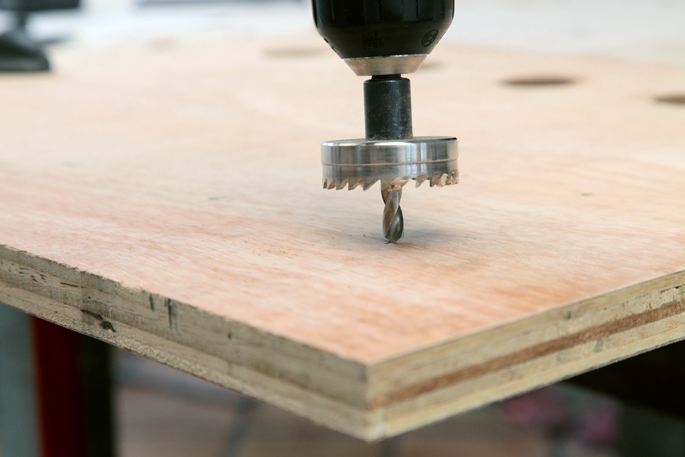
Clamp down your board so half of it hangs over the table.
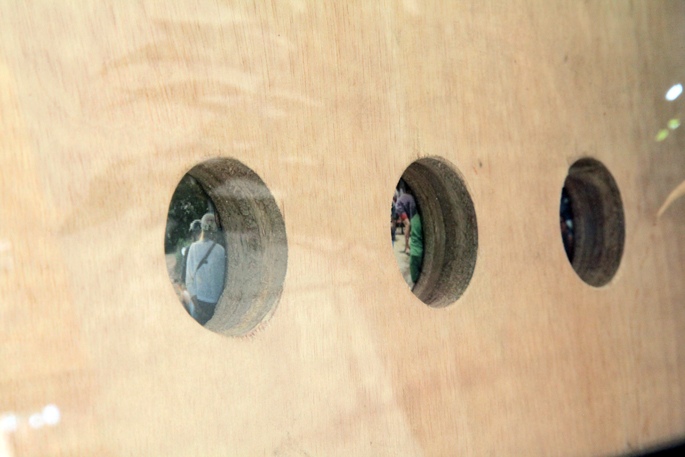
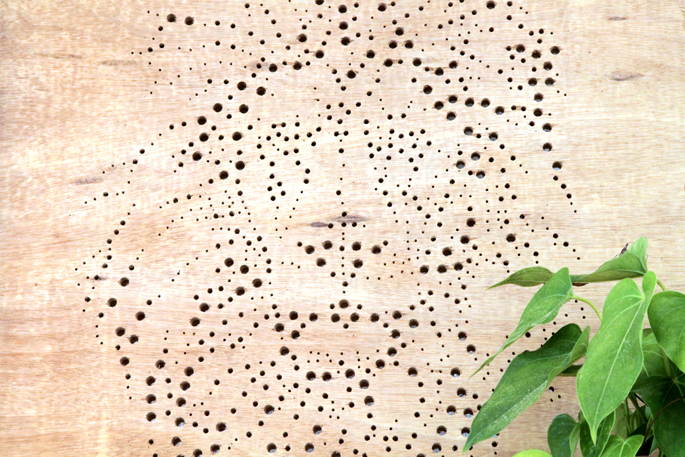
I had three different sized drill bits in total, and started with the biggest drill bit first. I just went for it, and drilled where I thought best. The biggest drill bit was used on the thickest areas of the illustration. Then I moved onto the medium sized drill bit.
I left the most important and defining details (the eyes, mouth and nose) mostly for the smallest drill bit. This way I could get more details to show through.
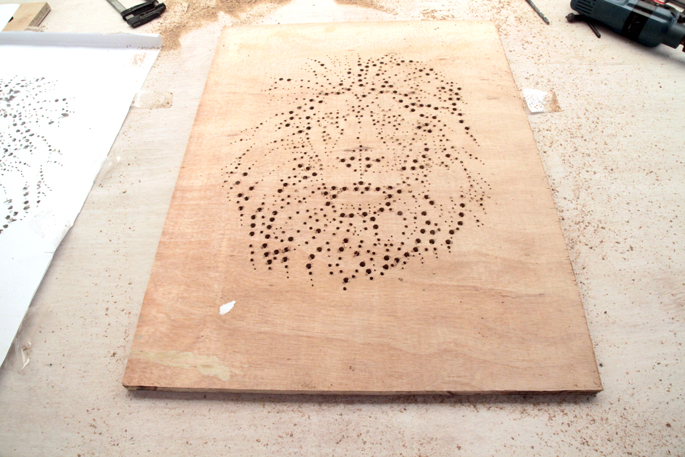
STEP 3: Touching up
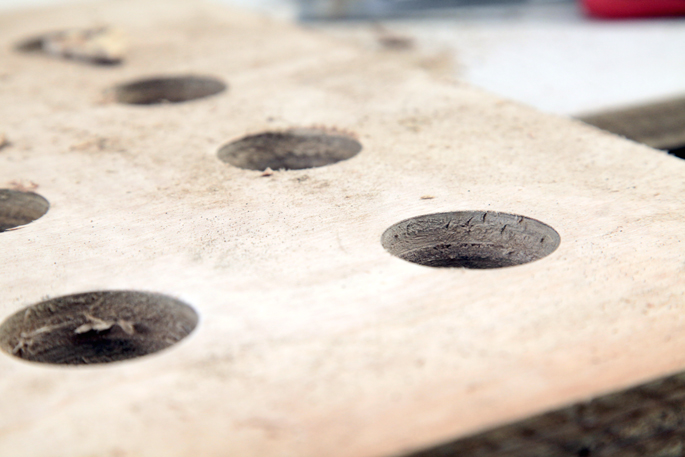
It took a while to drill all of the holes.
I took a paper clip to poke through all of the holes to get rid of any saw dust. Next, I took some fine grit sandpaper to clear of any tear in the plywood.
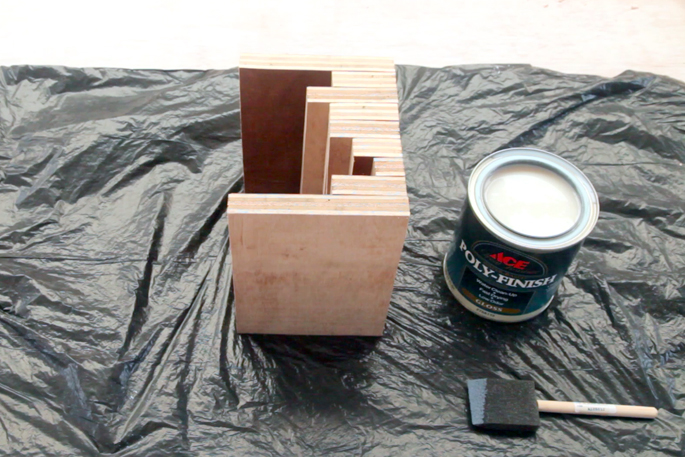
STEP 4: Adding a little gloss
Two coats of Polyurethane were added to give it a slight gloss and to seal the plywood.

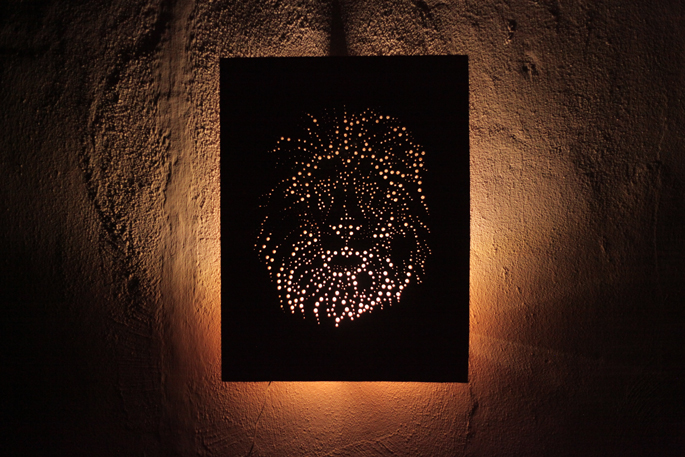
OPTIONAL
I glued on a strip of LED lights, IKEA’s DIODER, to the back of the board. Now at night the board also acts as subtle ambient lighting in the room.
Email me at jacob@hometreeatlas.com with photos if you make your own, or if you have any questions.
For more DIY projects and ideas, visit The Mill @ Home Tree Atlas