
![]()
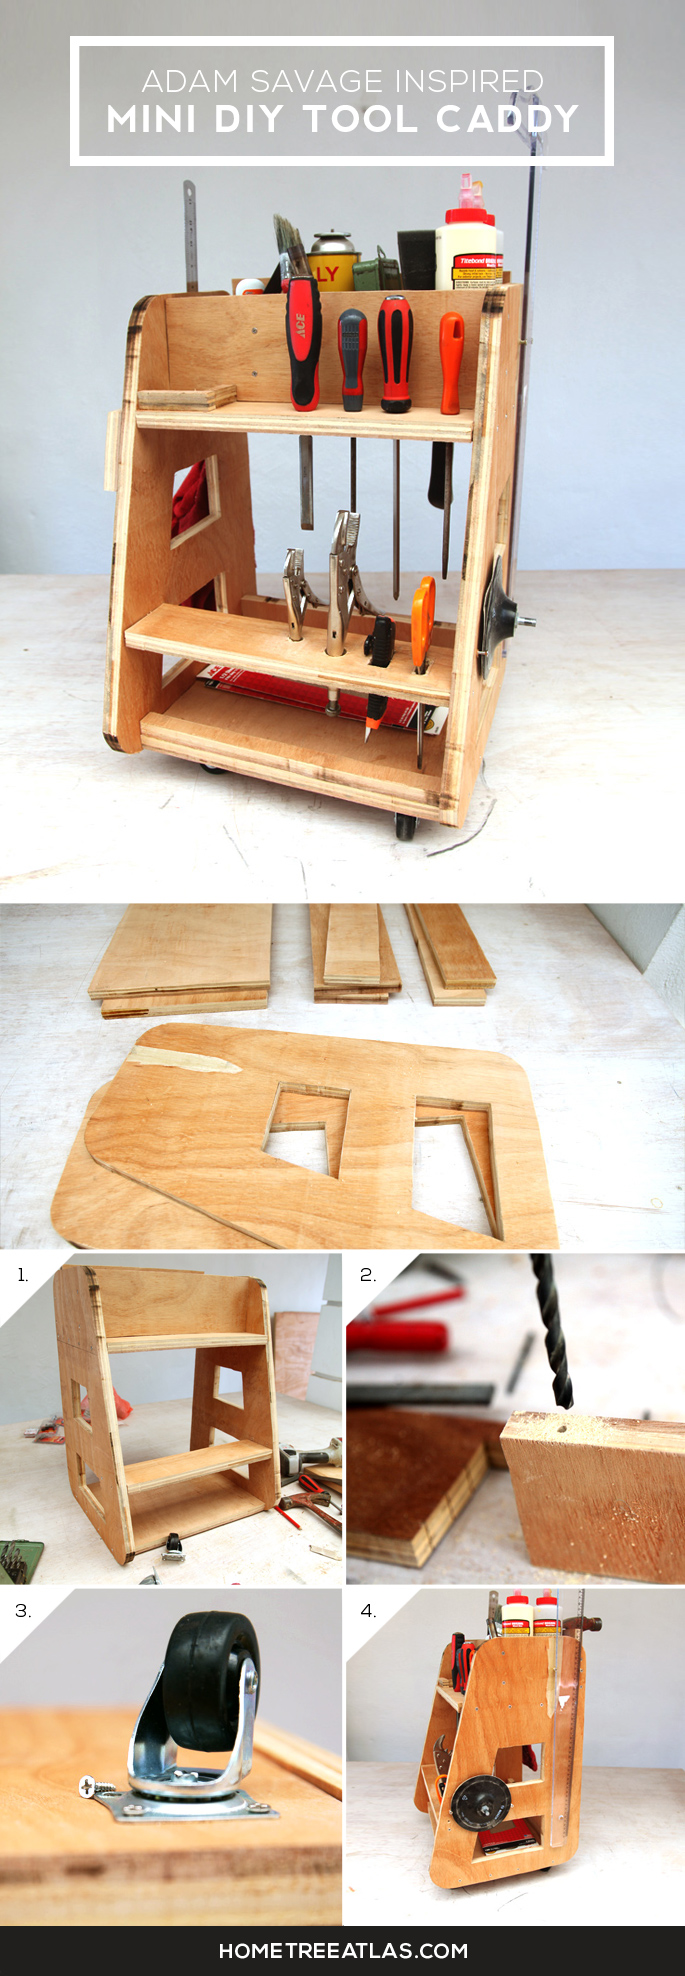
I saw this video here where Adam Savage of Mythbusters showed off his tool caddy. It makes a lot of sense to have all of your everyday tools close by, on wheels, with everything out on display. Most workshops have everything hanging on the walls – but the constant back and forth is a bit time wasting for me.
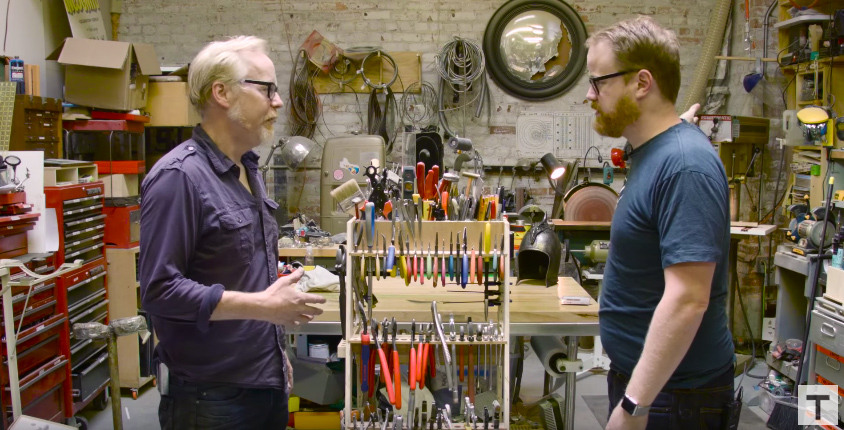
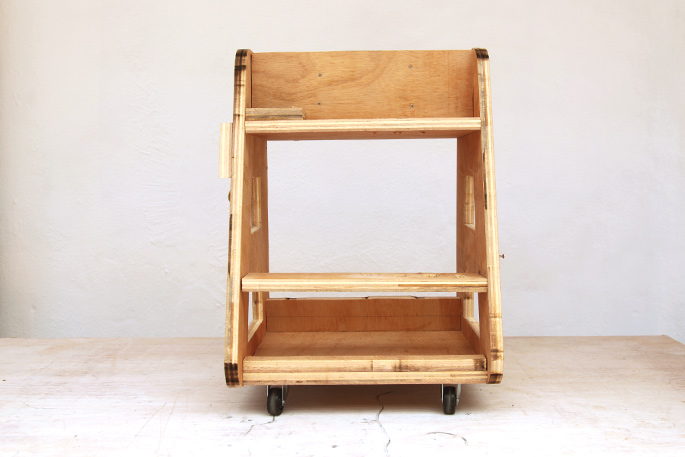
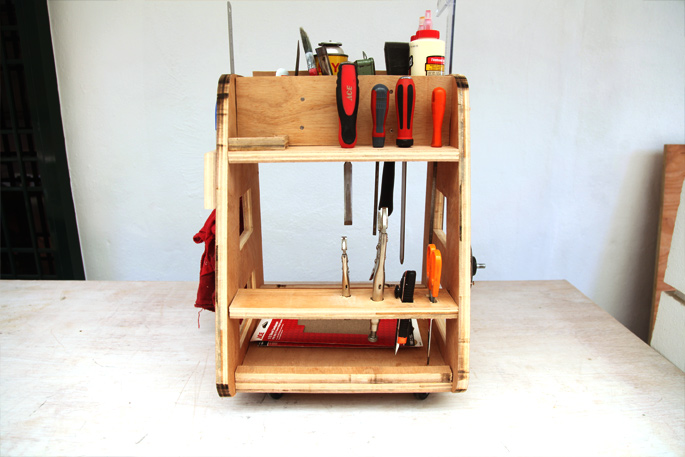
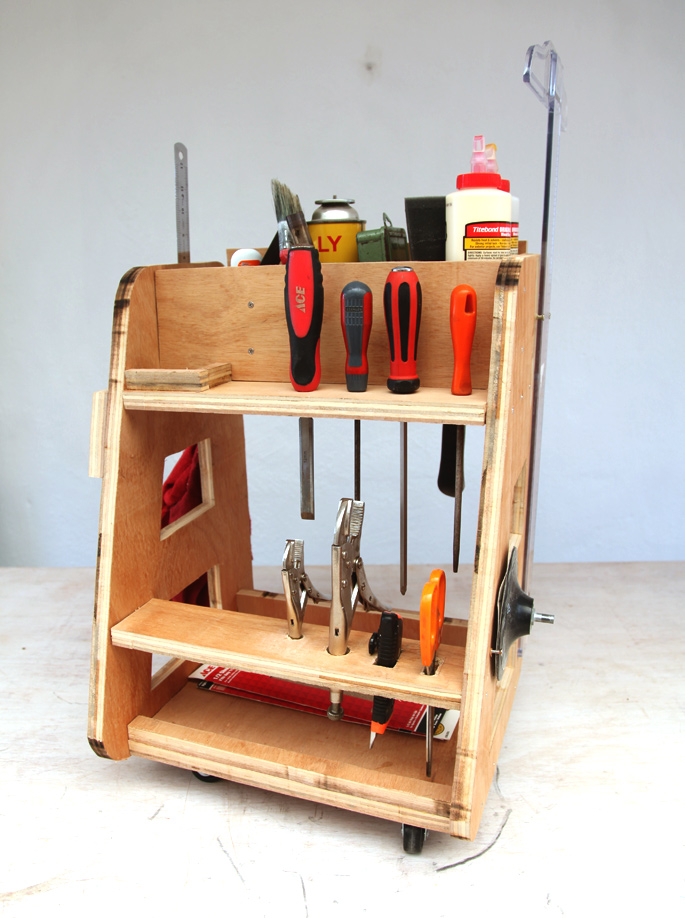
The one Adam built has a ‘stadium seating’ layout. So that you can layer the tools making them easy to see and easy to grab. I built mine the same way. The only difference was that the one I needed to build had to fit under the table. So I built a mini me desktop version.
TOOLS
- Saw
I made use of a jigsaw for this project
- Drill
This was used to drill holes into the side pieces to fit the jigsaw blade into. You’ll also need screws if you don’t have a nail gun
MATERIALS
- Plywood
I used 3/4 inch
- Wood Glue
- Casters
INSTRUCTIONS
I did what Adam did, and that was to take a look at the tools I use the most and roughly planned out how I would want them organized in the caddy.
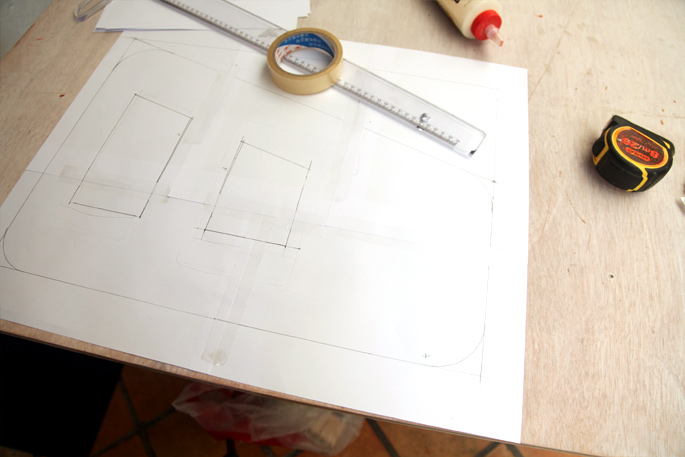
Step 1: Drawing Out the Template
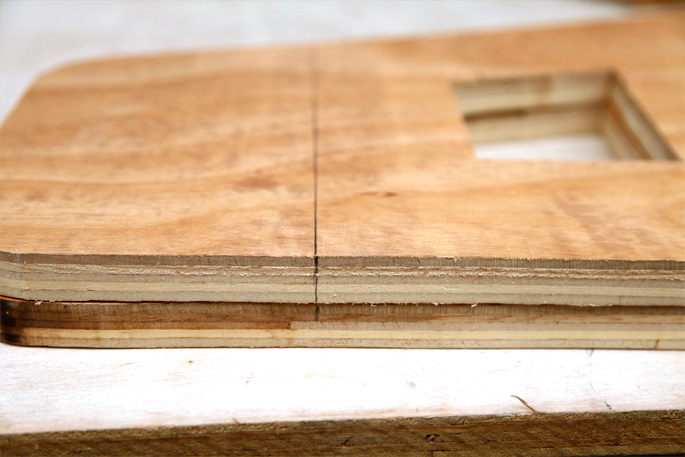
I adjusted Adam’s design to fit under my table. I had to take into account the extra height the casters would add, and how much room to leave for bottles to be stored on top of the caddy. In the end the template for my caddy (the side pieces) was 20.5 inches high, and 13.5 inches wide at the base.
I used the round edges a roll of tape to draw out my rounded corners. I also drew out some cut outs.
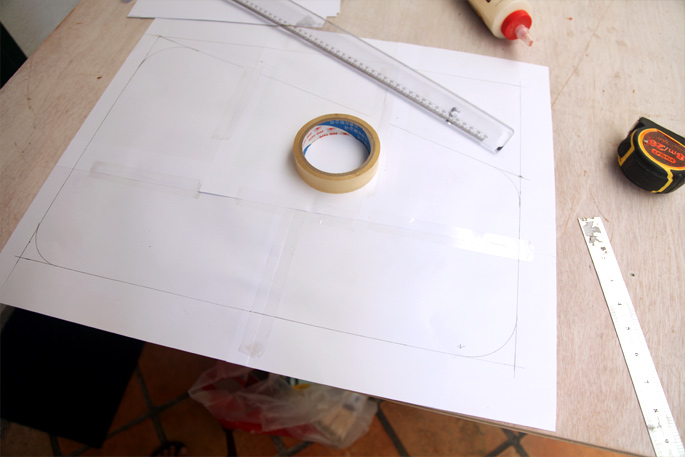
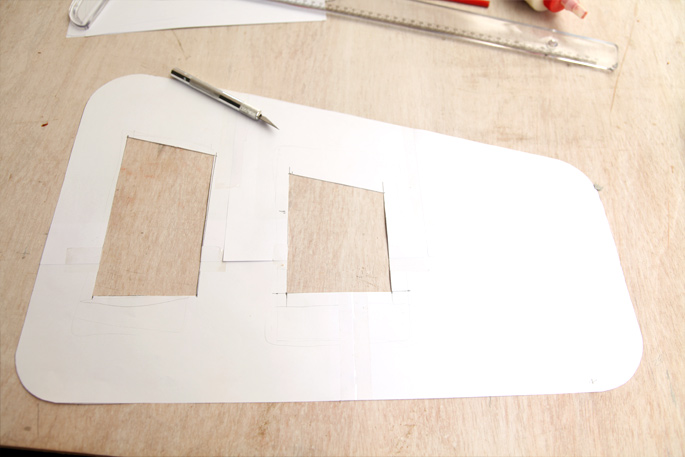
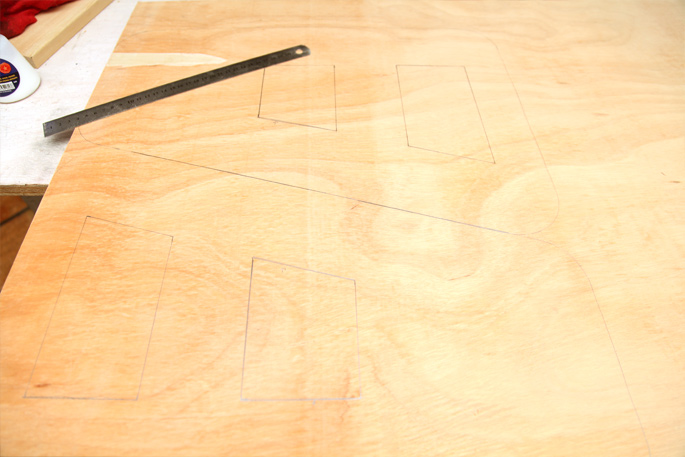
Step 2: Tracing
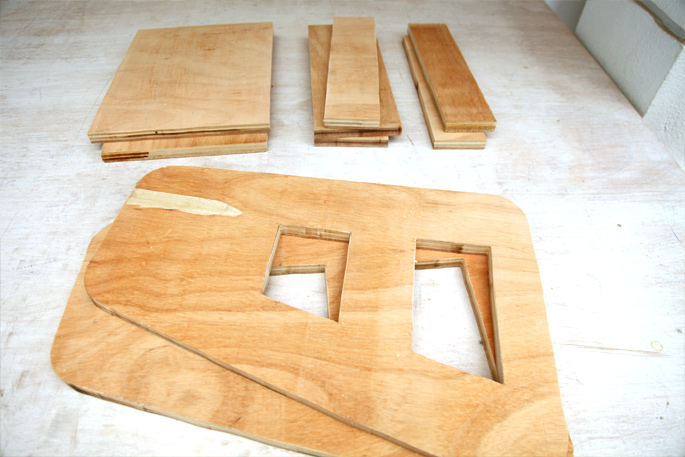
After cutting out the template, the next step is to draw it onto a sheet of plywood.
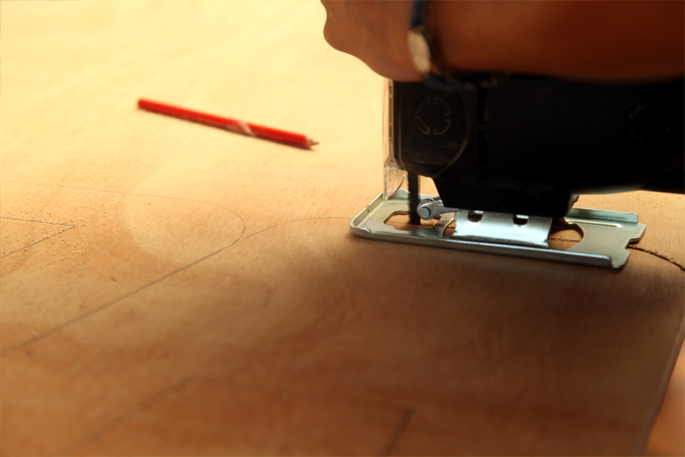
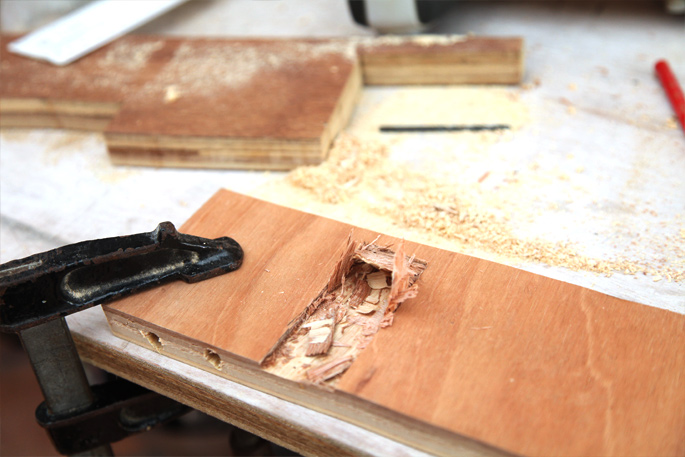
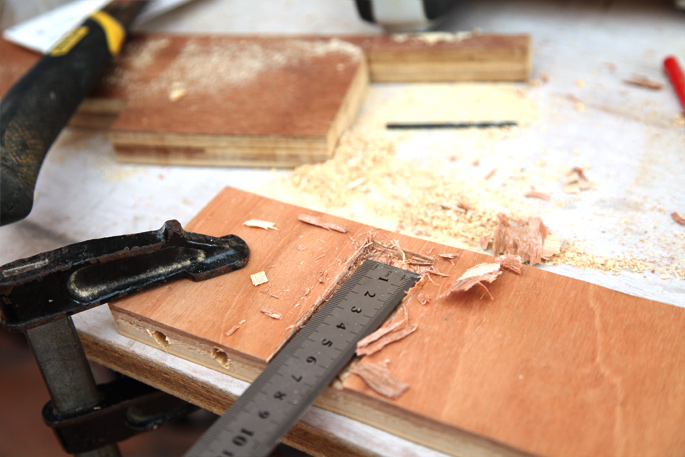
Step 3: Cutting it Out
Cut the plywood. I used a drill to drill holes into the cut out sections so that the blade of the jigsaw could fit in.
In the end I was left with 2 side pieces. I also cut out some boards – which would be the base and top of the caddy, and the railings. These were all the same width at 14 inches, but different heights/depths depending on what they were going to be used for.

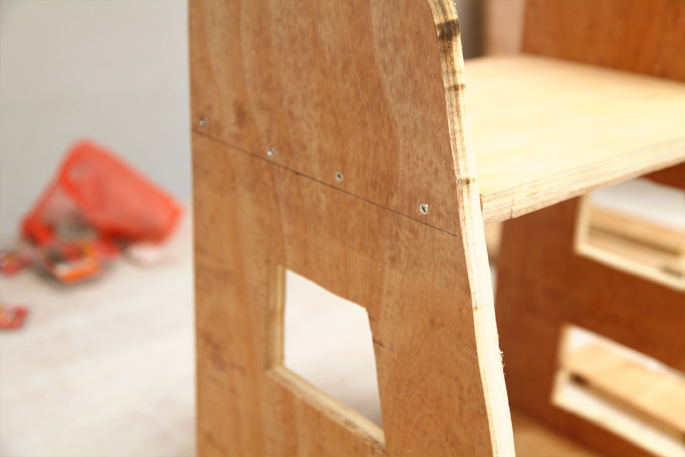
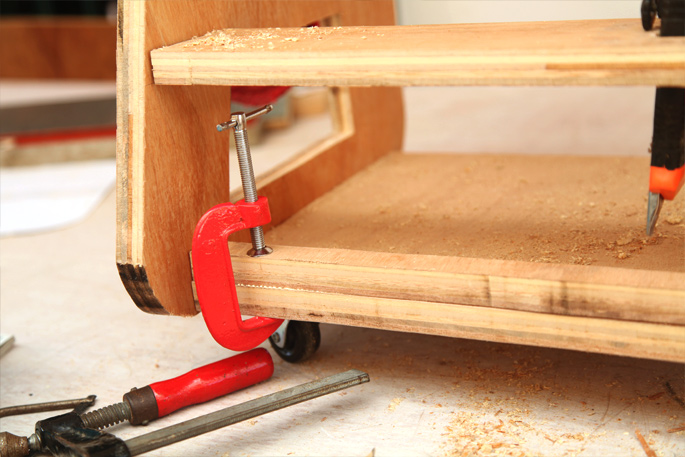
Step 3: Assembling the Base and Top
Line up your two side pieces and mark where you want your top and bottom board to go. Then drill the side pieces to the top and base boards.
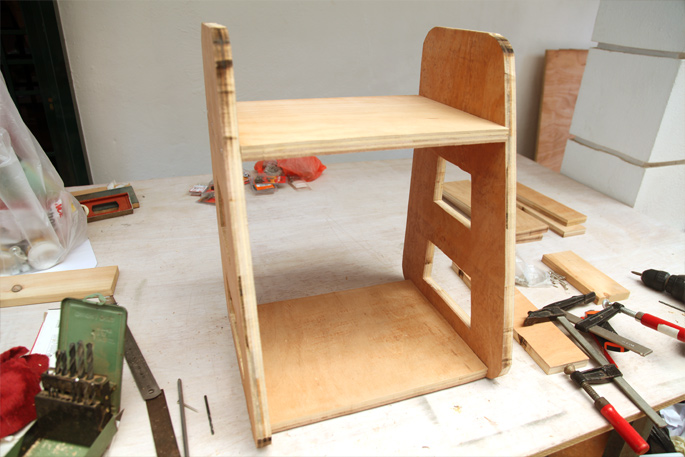
Step 4: Customizing
From here on out, you can start to design and build the caddy the way you want your tools to be laid out.
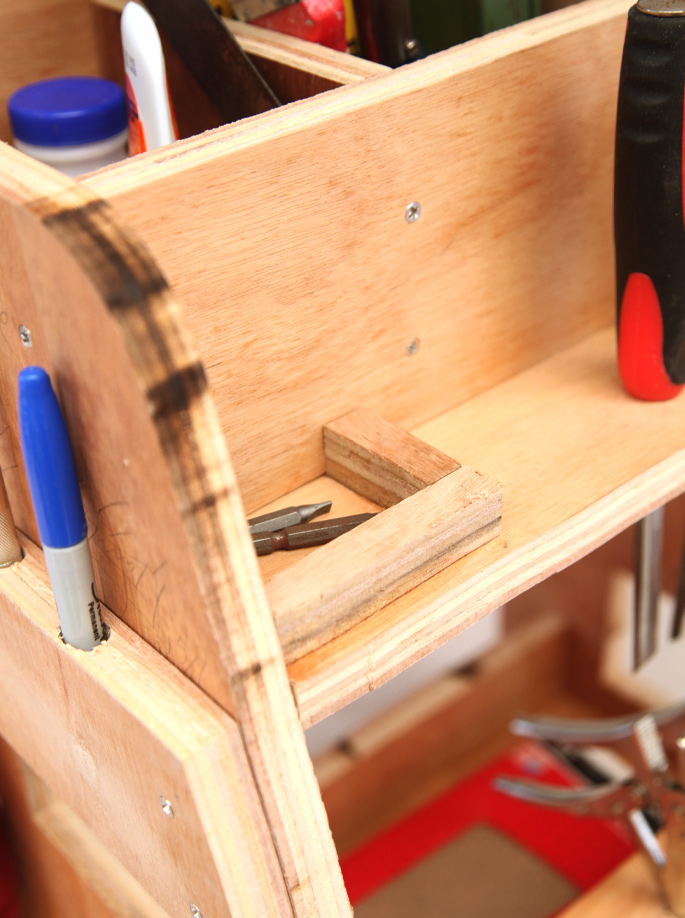
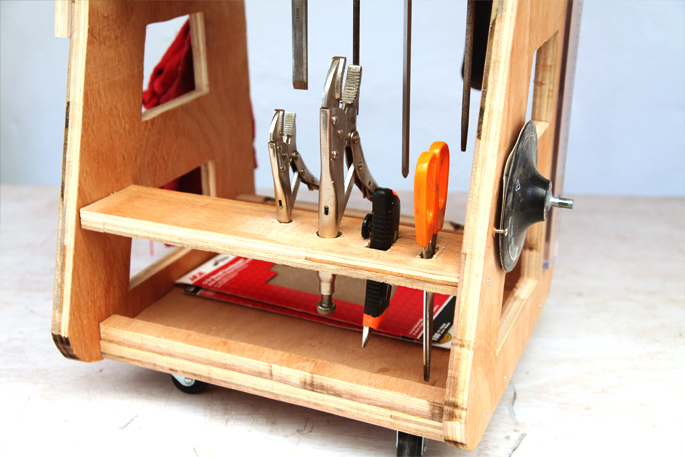
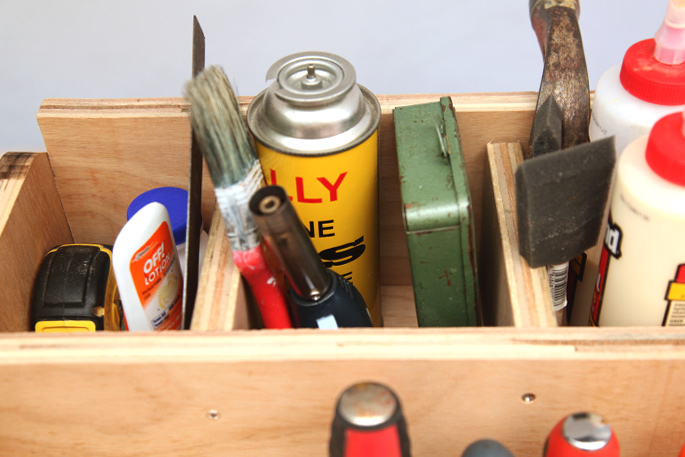
For me, I wanted a top shelf with dividers. And a railing that I could drill holes into to hold my screwdrivers, chisels, files and more.
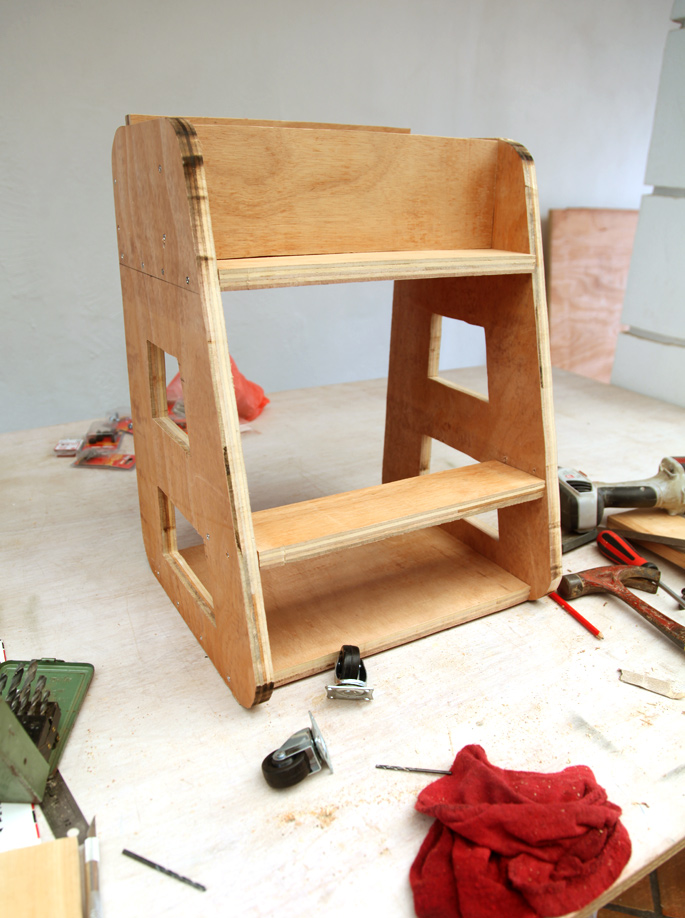
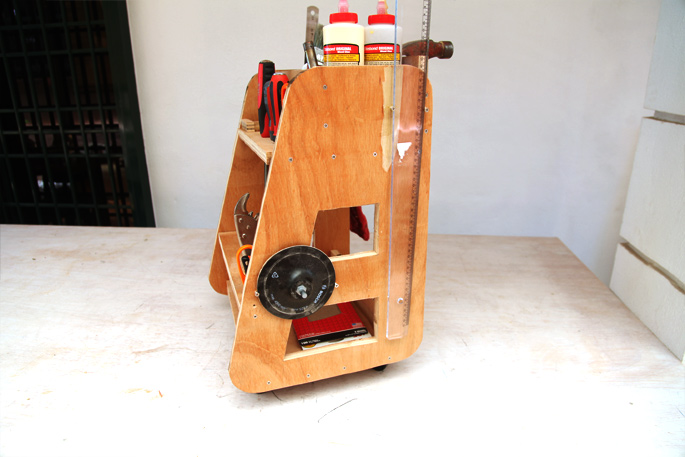
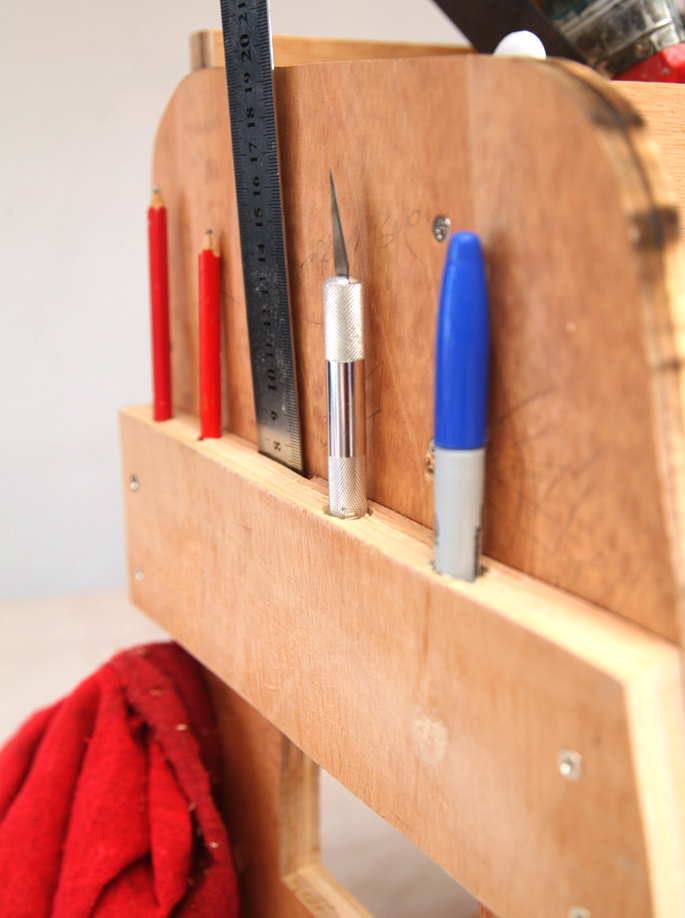
I needed a side piece to fit in pencils, pens, a ruler, and a exacto knife

I added strips of plywood to the base board so I could store sandpaper
A little enclosure was made on the railing to store drill bits
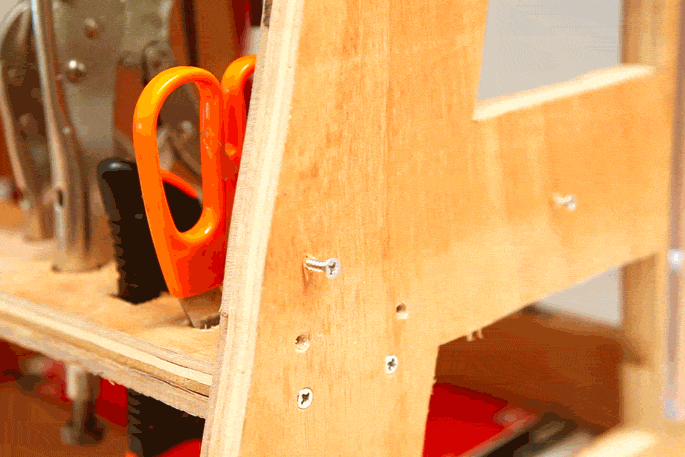
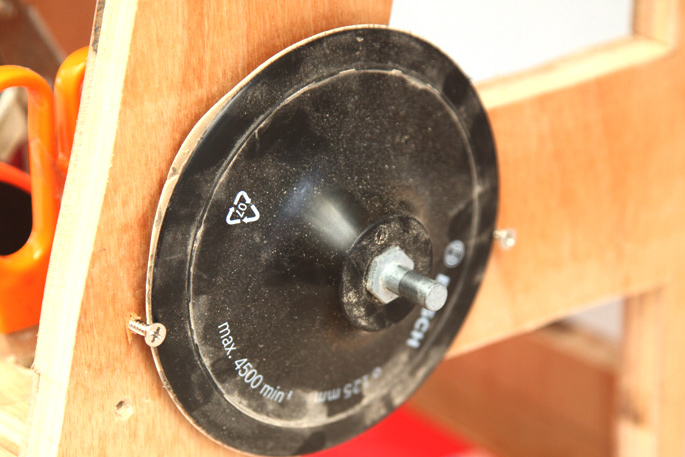
And some screws were attached to the side to hold up a long T-square and a sanding drill attachment
And a hook was added to hang up some rags
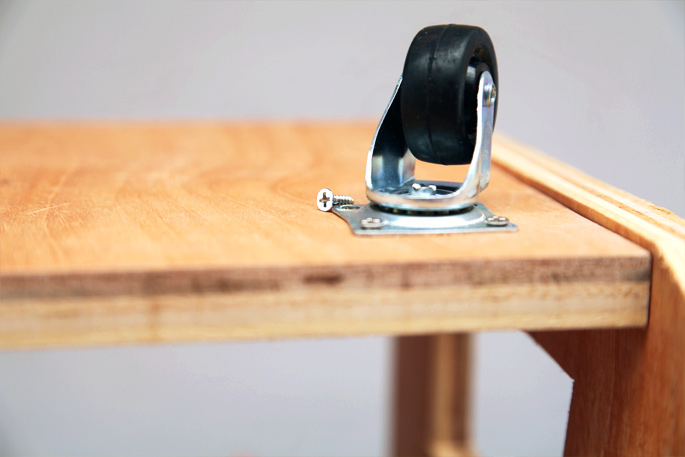
Step 5: Adding the Casters
After you have mostly everything in place you can then screw on the casters.

Email me at jacob@hometreeatlas.com with photos if you make your own, or if you have any questions.


Comments are closed.