
![]()
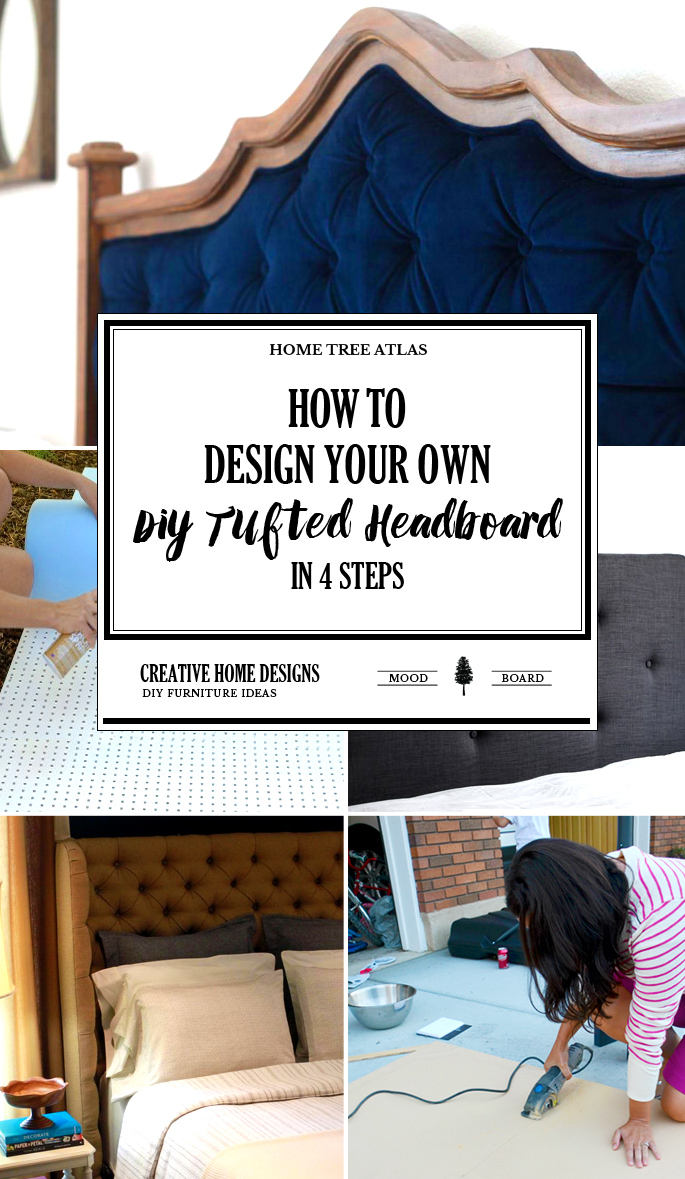
Building your own DIY tufted headboard is pretty easy to do and cheap. Most of the tutorials below follow pretty much the same set of instructions (foam and plywood, thread buttons, etc.). The more challenging part is in designing an elegant and professional looking headboard. The 4 steps I’ve outlined below will take you through how to design your own.
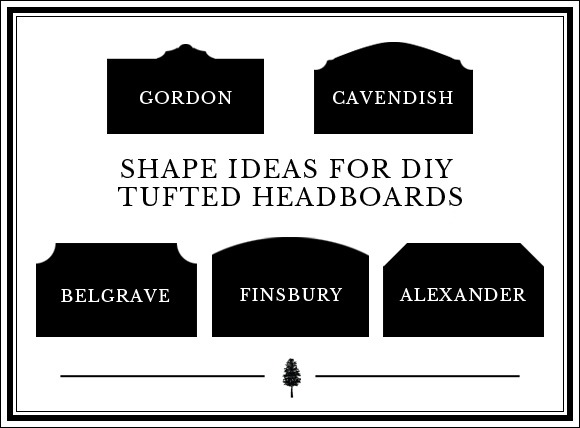
STEP 1. The Shape: Will you be going for the classic rectangle or cut your own shape?
The first step is going to be getting a backboard for your headboard. Which means figuring out the shape that you want. Most people will go with the simple rectangle. But it wouldn’t be so hard to create your own custom shape. Here are two ways of creating a shape
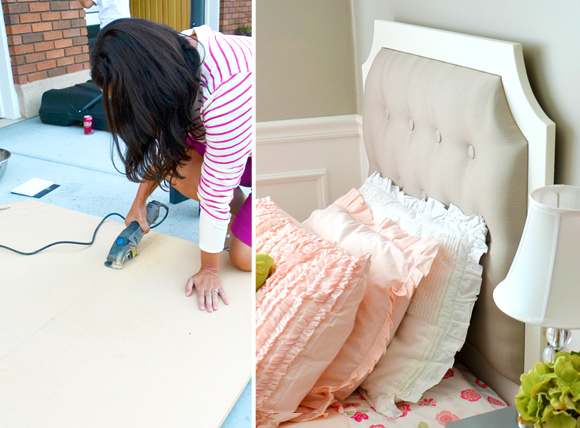
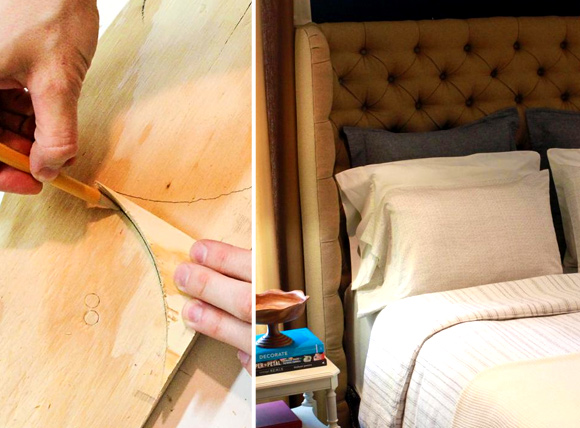
A. A sheet of plywood and a power jigsaw (you can see an example of a custom cut headboard in the ‘Border’ section below.
B.Transform an old headboard or thrifted one into a tufted headboard.
Here are a few shape ideas to choose from:
And here is a tutorial by Cre8tive Designs Inc for transforming an old king headboard, with an elegant shape, into a tufted one:

STEP 2. A Border: Do you want to build a border?
The next step is deciding if you want to have a border. Most people don’t, which creates a classic look.
Some people like to add studs, but that can be hard to pull off a professional look. A more stylish option is to create a simple border for your tufted headboard. Just like Amy did over at The Idea Room.
Or how about creating a cozy wingback DIY upholstered headboard. You can find instructions to build the headboard in the picture below over at DIY Network:
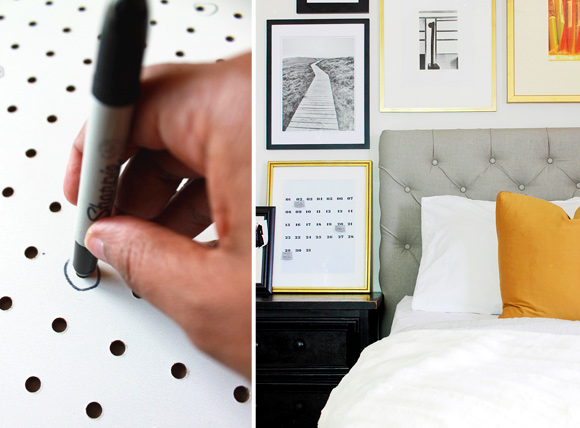
STEP 3. The Buttons: How would you like to layout your buttons?
There are a few choices here. You have the more popular diamond shape, seen in this queen sized DIY bed by Homemade Carmona:
There are also square tufts – a tutorial by Remodelaholic:
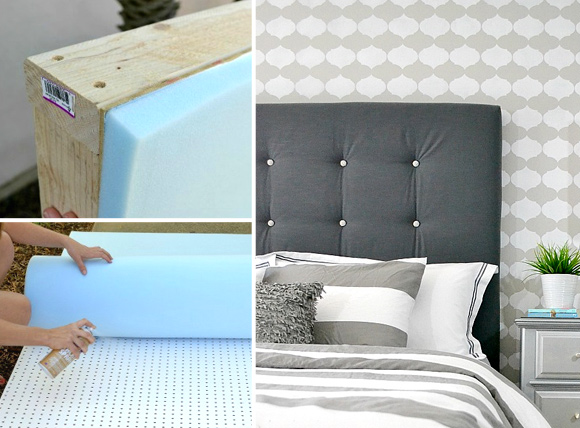
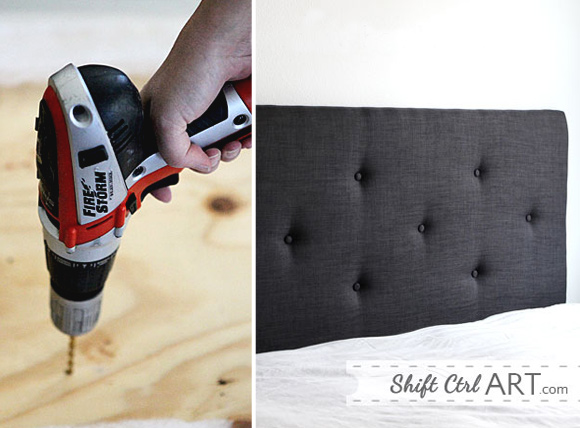
Or you can go with less buttons to create a more minimalist and modern wall mounted tufted headboard by Shift Ctrl Art:
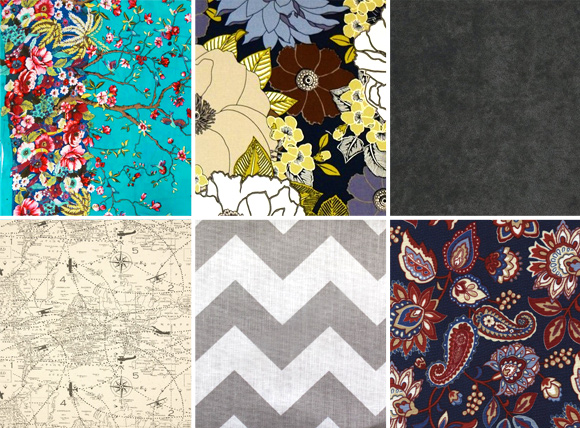
STEP 4. The Fabric Choice: What look are you going for?
Fabric for the DIY Headboard: The bed takes up the most space in the bedroom, which makes it a focal point. This means the style of your bed determines the style of the bedroom. And the includes the headboard, sheets, and bed frame. Imagine if one day you had black bedsheets, then the next day red. It will completely change the feel in the room.
This all means that you’ll want to take some time to think about the fabric that you want to use for your DIY padded headboard. What color bedsheets do you like using and do you use, and how will this match/clash with the color of the headboard.
Simple and elegant choices include dark grey, light grey, and cream/off white cloth.
Fabric for The Buttons: There are 2 options when it comes to the buttons 1) Buy pre-made fabric buttons or 2) Buy a button kit (get one here) and use the same fabric as your headboard.
Those are the 4 steps to designing your own DIY tufted headboard. Send pictures here if you make your own. For more ideas and inspiration, check out my other headboard posts:


Comments are closed.