
![]()
It’s pretty surprising the almost unlimited ways you can get creative building with plywood by gluing pieces together. I’ve only just started basic woodworking, but I’ve already made a lamp, and coasters using scrap plywood – along with a number of other plywood projects.
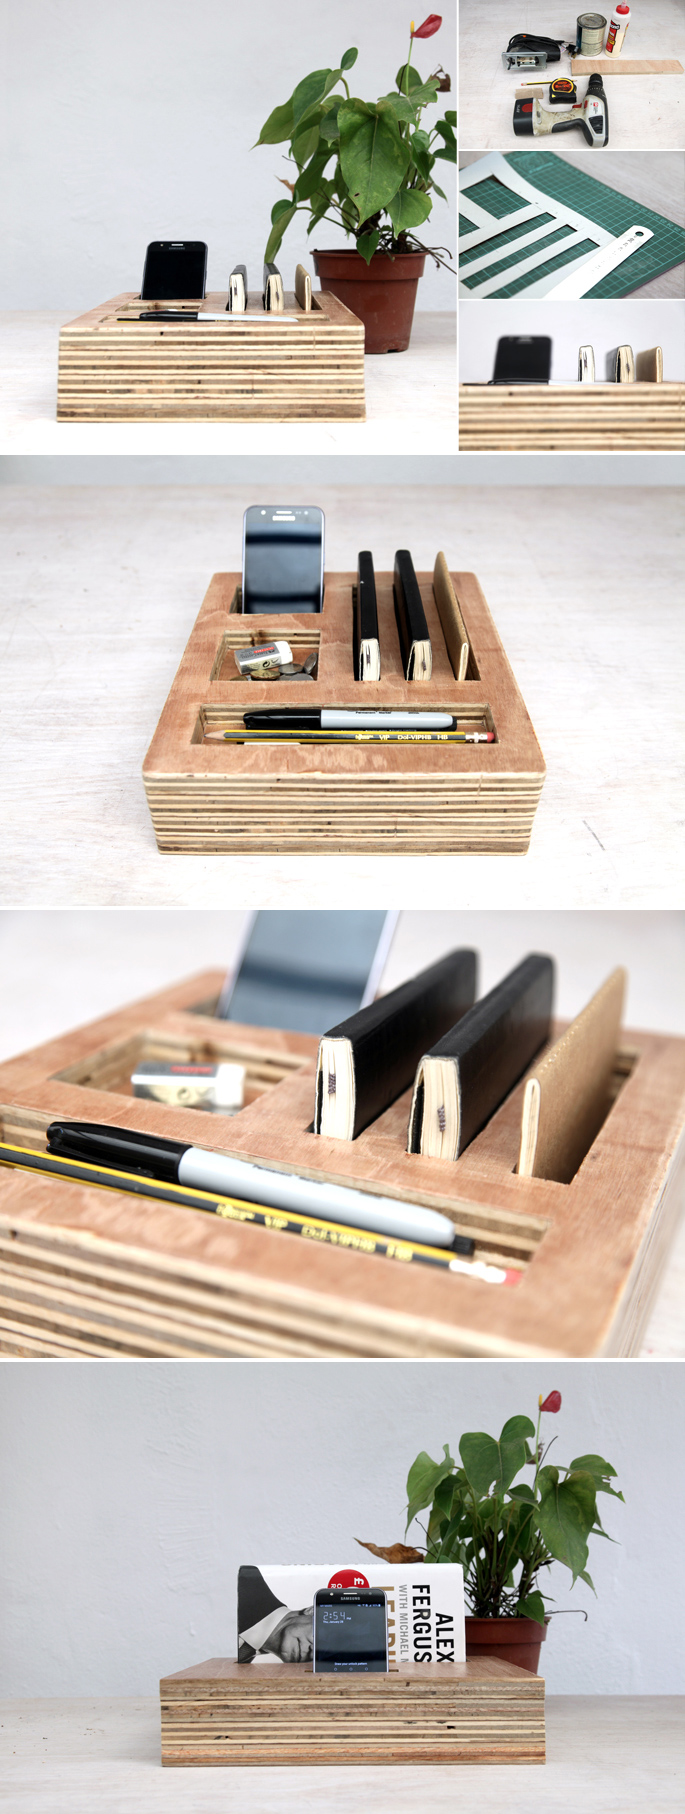
Bloks, as I like to call them, are organizers made by cutting holes in sheets of plywood and gluing them together. They can be customized to any room, or for any items that you want grouped and organized helping to get rid of clutter on your tables.
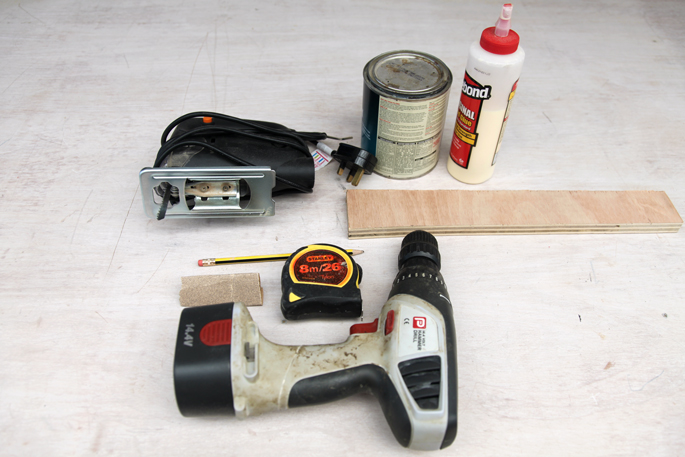
TOOLS
- Jigsaw
My power saw jigsaw was bought at IKEA, not the best but still does the job
- Drill
And a drill bit the size of your jigsaw blade
MATERIALS AND SUPPLIES
- Plywood
I used 3/4 inch plywood. You can use thinner plywood, but you’ll just need to glue more pieces together to create a stack
- Sandpaper
I used 150 grit sandpaper
- 4x Clamps
These will be used to clamp together the plywood while the glue sets
- Wood Glue
- Tape Measure and Pencil
- Polyurethane
This is used to finish off the plywood when you are done – giving it a nice shine. You can also use Linseed oil
INSTRUCTIONS
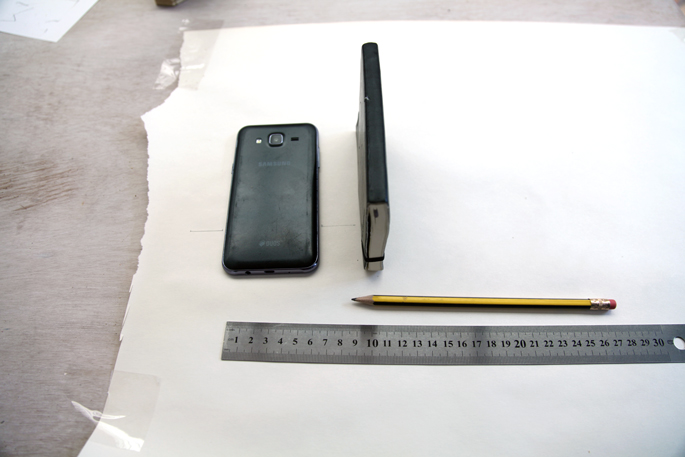
Step 1: Gather your items
This is a custom organizer for your items, so gather up what you want to organzie. For me this included notebooks, my phone, pens, and loose items.
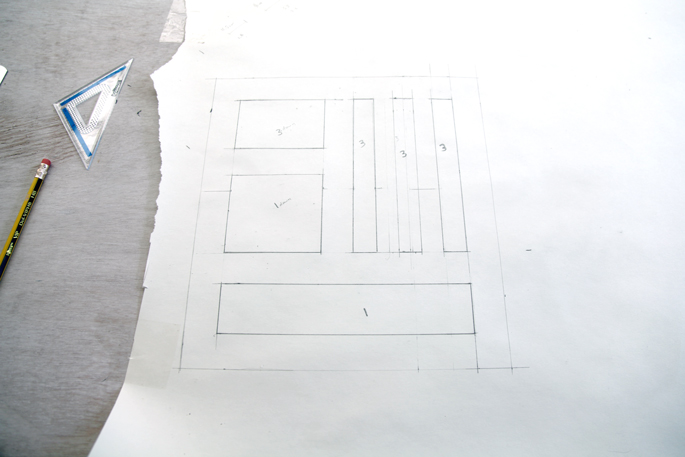
Next measure how wide your holes need to be to fit your items. For my phone, I needed a hole that was 3 by 2 inches.
I just made sure there was an inch border around the whole block and in-between most holes.
Step 2: The depth of each hole
The next step is to figure out how many pieces of plywood sheets you’ll need to create your block. I knew I needed 4 sheets to create the height of the block. There would be one base layer (at the bottom) with no holes in it. The holes for my phone and notebooks would be cut in the next 3 layers, while the holes for the pencils and loose items would only need to be cut in the top plywood sheet.

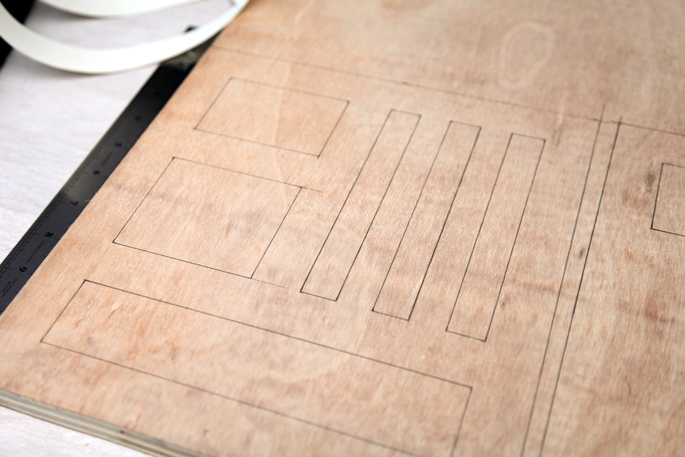
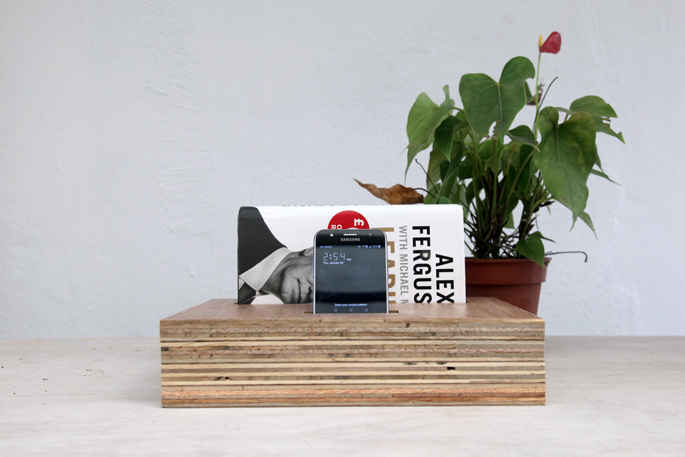
The Template for the Bedroom Blok
This one will hold a book in the back and my phone in the front. I ended up having to drill a hole through the side once it was built to feed through my charger cable.
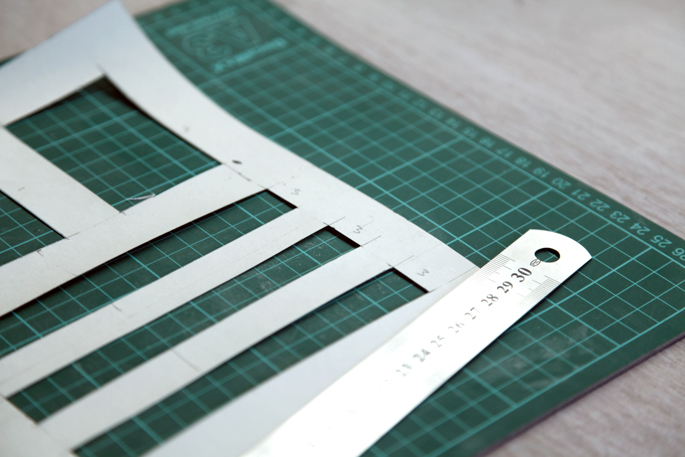
Step 3: Cut out your template

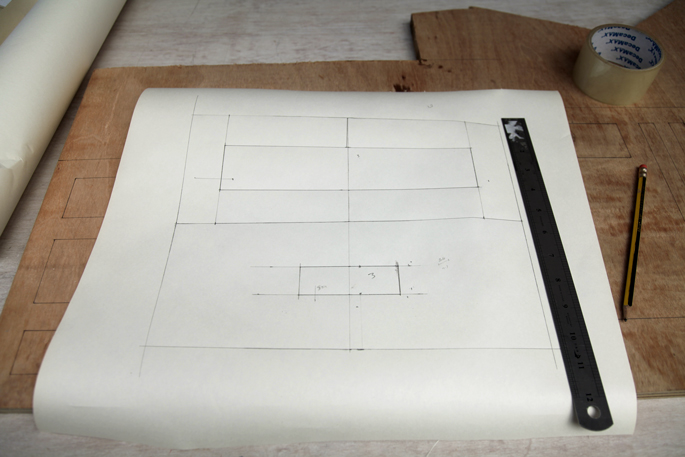
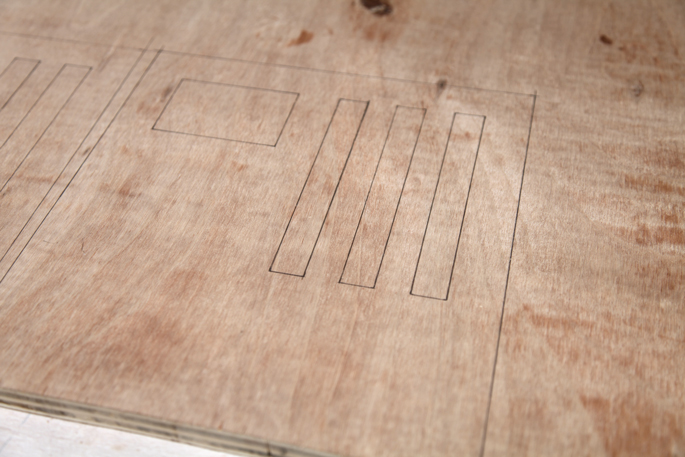
Step 4: Trace your template onto your plywood
I just mark the corners of the template and use a ruler to connect them
Step 5: Drill your holes
Take your drill and the drill bit that is the same size as the blade for your jigsaw, and drill a hole on opposite corners where each hole will be in the plywood. This hole lets your jigsaw blade get into where you need to cut.
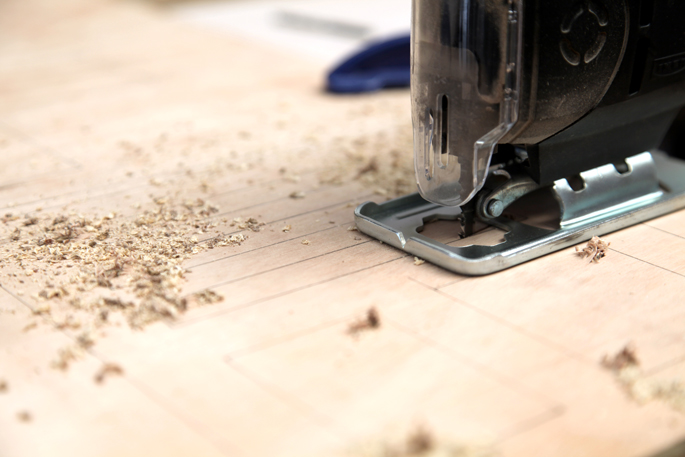
Step 6: Saw out the holes
Take the jigsaw and cut out the holes
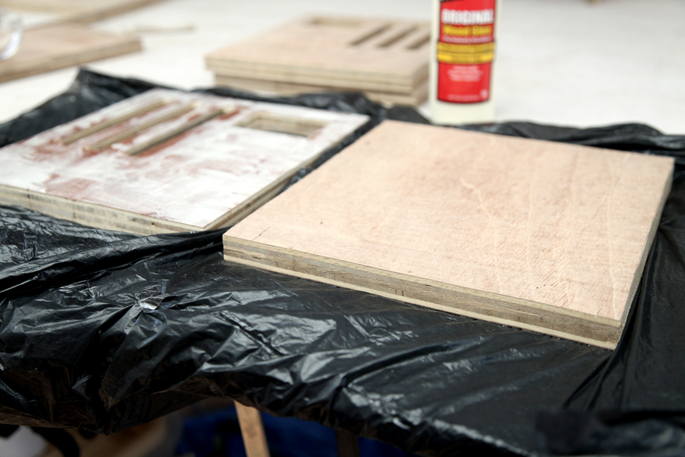
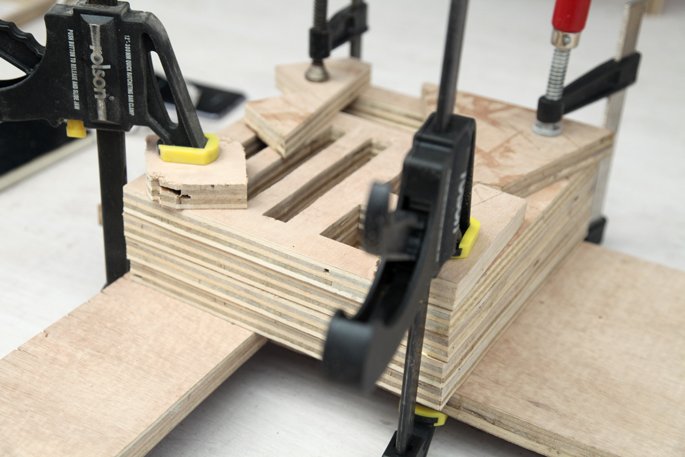
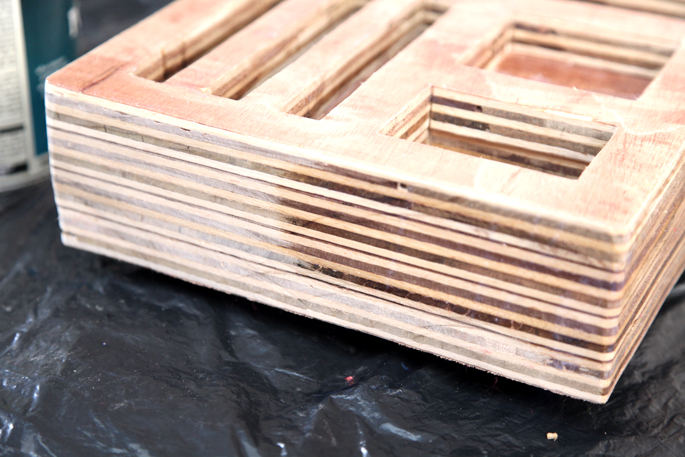
Step 7: Glue the pieces together and clamping it
Glue the pieces in the right order. When you’re done glueing the plywood together, you’ll need to clamp the block (using scrap wood on the top and bottom) so the glue makes a solid connection with the wood. It will take over 30 minutes for the glue to set.
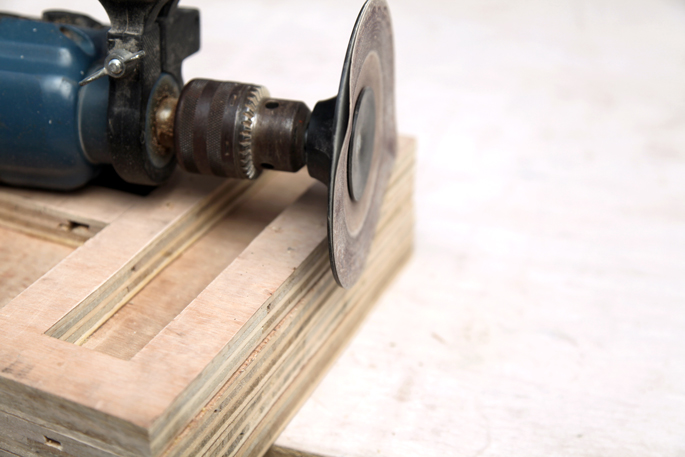
Step 8: Sanding down the edges
Since the jigsaw does not make perfect straight lines, I took some sandpaper and sanded down the edges of the block. You can do this by hand, or you can buy a cheap sanding disk attachment for your drill – which is what I did and it saves a lot of time.
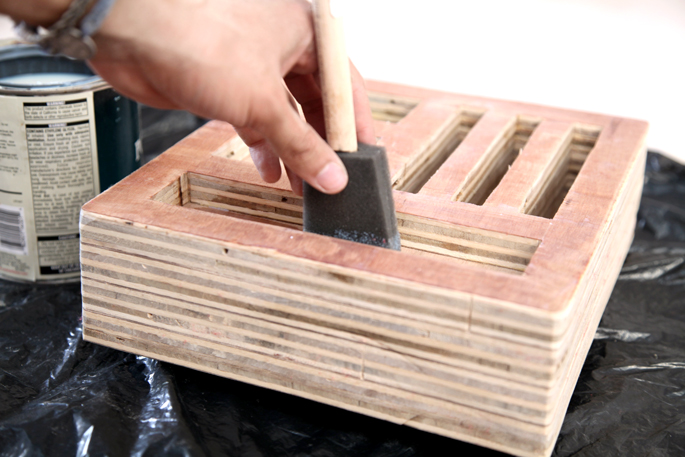
Step 9: Adding some gloss
After you’ve sanded down the edges, wipe off the wood dust so you have a clean surface to apply the polyurethane to. After my first coat, I waited 3 hours for it to dry. I hand sanded it down all over before adding a second coat – followed by another sanding after it dried to smooth it out.
The Desk Blok
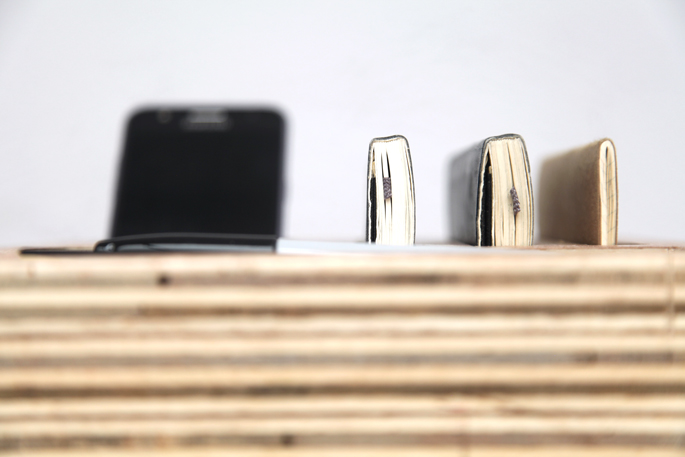
The Bedroom Blok
Email me at jacob@hometreeatlas.com with photos if you make your own, or if you have any questions.


Comments are closed.