Home Tree Atlas

DIY

Getting Creative: IKEA RUSCH DIY Wall Clock Hacks

DIY IKEA RUSCH Wall Clock Hacks

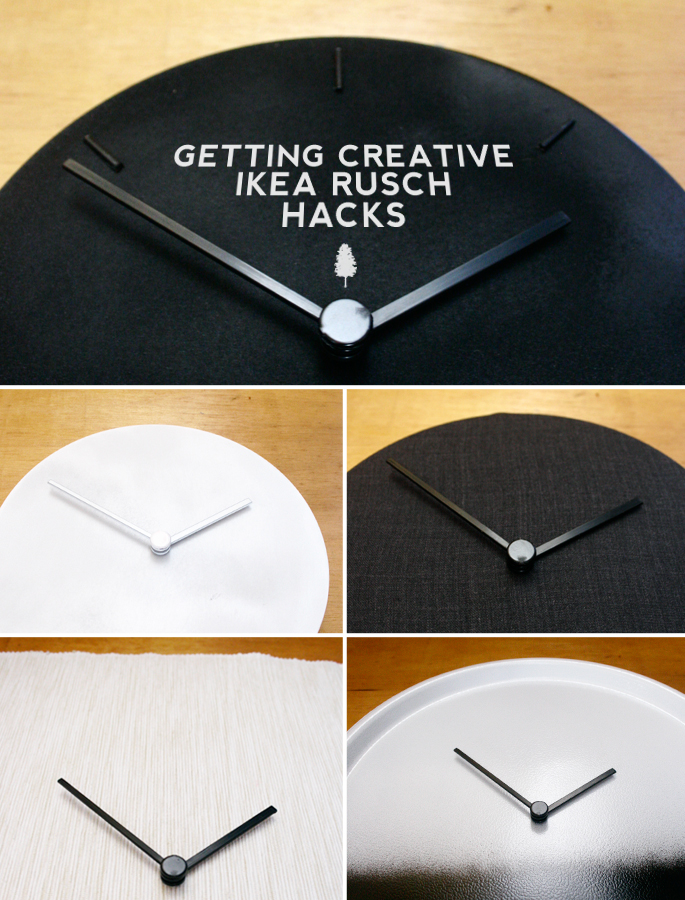
This was an exercise in getting creative. The RUSCH clocks from IKEA here only cost US0.84 each. So I bought a few, and tried to come up with some ideas on how to hack them into better looking clocks. My first attempt was spray painting the clock frame. I soon realized that anyone who’s been to IKEA would know I just sprayed painted their clock black. So my focus shifted to taking the clock frame apart and using the black box that holds all the mechanical parts, and even reusing the round plastic cover.

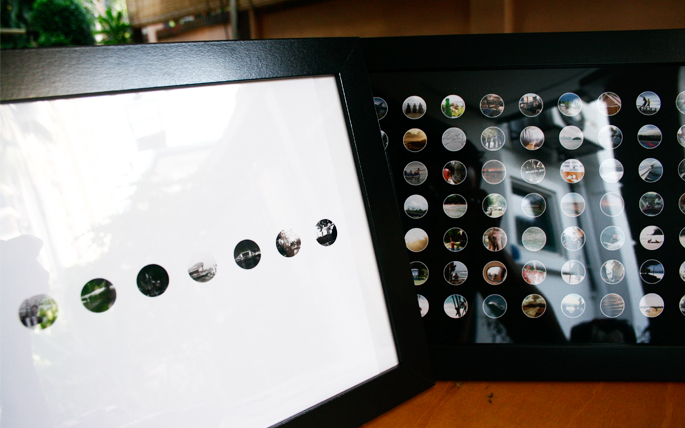
Here are the clocks:
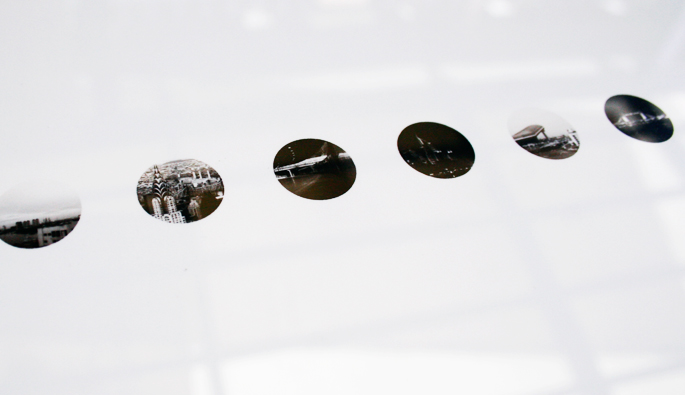
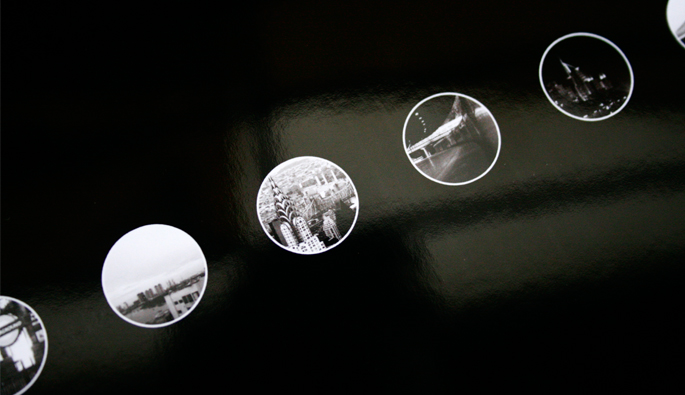
The Black Beast

Black Wall Clock DIY

DIY Wall Clock

For this one I ended up reusing the round plastic cover of the clock. Those little number points – they were made from cutting up the seconds hand.

Drill Clock

About to drill the plastic cover. This was also done for the White on White and the Dressed Up clocks below. Wire cutters were used to cut of the plastic tabs that hold the cover into the RUSCH’s frame.

Cutting Mat

Cutting up the seconds hand to create the number placements.

Seconds

Since I didn’t want the seconds hands on any of the clocks, I ended up cutting them off the round tabs. I still needed this part to cover up the hole. The tabs were then spray painted.
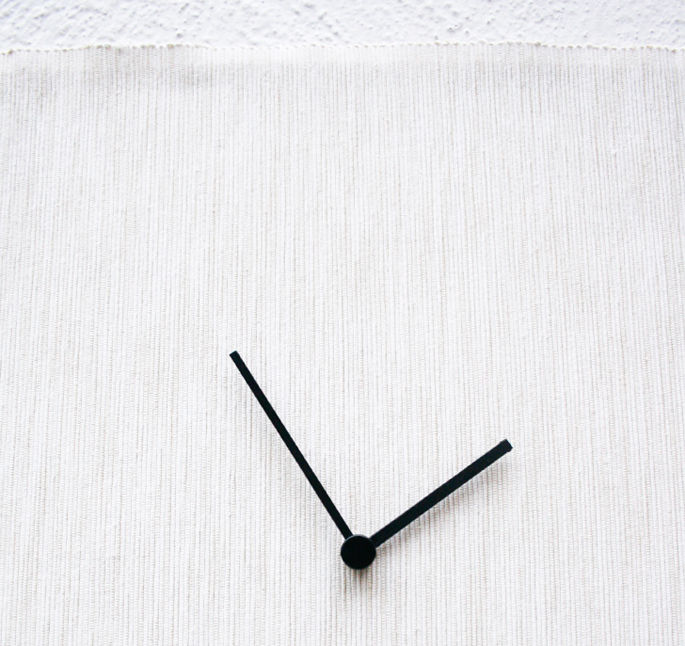
White on White

Pure White Clock

Pure White Clock

This was one of the other clocks that reused the RUSCH’s plastic cover. No number placements this time.

Dressed Up

Fabric Clock

DIY Fabric Clock

The last clock to reuse the plastic cover. This time fabric was glued over the cover and little mohawks were created around the edges.

Double Dose

04-Mat-a

04-Mat-b

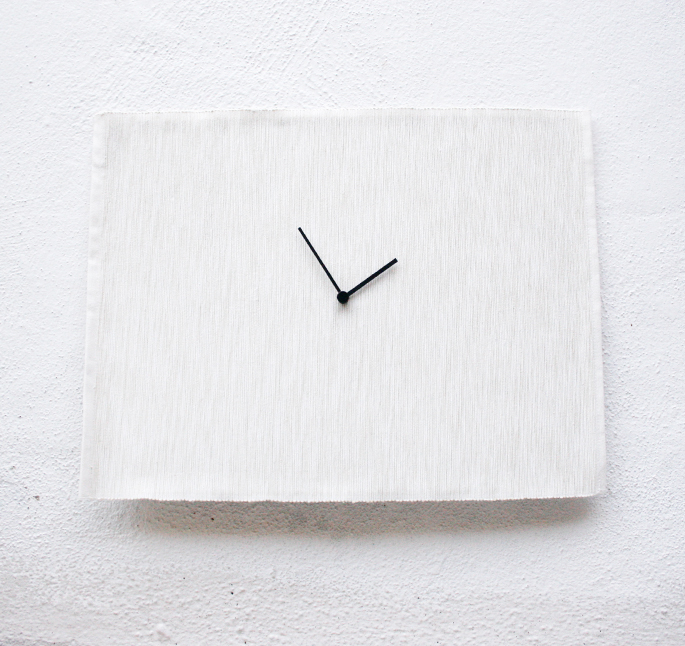
Double Dose makes use of the RUSCH clock and the MARIT place mat.

IKEA MARIT

IKEA MARIT Hack

Glued cardboard to the back of the mat to make it stiff, then stabbed a hole through.

Horizon

Horizon Clock

Horizon Clock

This last clock was made out of a serving tray found at the dollar store. Drilled a hole through it then hit that bad boy with some white, then black spray paint.

IKEA Spray Paint

Spray painting inside an IKEA shopping bag. Hitting the serving tray with the first coat of white.

The End

Related Posts:

May 23, 2013 in DIY, Made By HtA

Travel Photos Confetti Display – Plus DIY Printables Guide

Photo Confetti

Travel Wall Photo Confetti

Travel Photos Display

So I was trying to figure out a way of displaying some travel photos, and decided to arrange a bunch of tiny photos on one sheet in Photoshop – photo confetti style. I was a bit worried about how the quality of the tiny pictures would turn out. But it turned out great.

I created two versions. The first is of the cities I’ve lived/worked in: London, Ho Chi Minh, New York, Kuala Lumpur, and Dubai. This one I decided to create in black and white.

Photo Cities White

The second version is confetti of travel photos, including the trip to Thailand I came back from last week. This one was done in color.

Travel Photos Collage

I also tried doing the cities one with a black background, but liked the white one better.

Cities Black Version

Doing It Yourself: This will be much easier to do in Photoshop or Gimp. But it can also be done in PowerPoint. The images below that you can download are in the ‘png’ format, this means that there are holes where the circles are. So you don’t have to create this part of the image.

So just take the masked images below to your program of choice, arrange the photos behind it, and then it is off to the printers. The printable images below are meant for A4 sizes. Hope that helps.

When you click to the white background downloads, the image is there – it is just pure white so you can’t see it. Just right click and save.

 Seven Rows Black

Seven Rows White

One Row Black

One Row White

New York City Printable

What The New York City Printable Looks Like (Download the full size version with the link above)

New York City Printable

Both Picture Frames

 Related Posts:


May 12, 2013 in DIY, Made By HtA

All Things Dip Dyed Mood Board

DIY Dip Dye Ideas

There is not much that can’t be dipped into some dye to create a nice soft gradient. Above there is the dip dyed: lamp shade from Design Sponge in picture (1), beanbag from PB Teen (2), strand of beads from AMM, and a dip dyed paper lantern from Susanna (4). Then there are dip dyed candles made by Martha Stewart (5), and an assortment of pillows that can be bought from West Elm (6).

Simply dipping fabric straight down into dye is the most popular way of creating a dip dyed piece. But there are ways to experiment – like folding the fabric to create stripes like the table runner in picture (7) by Sweet Paul. You can also roll the fabric up, or scrunch parts up and only dip those parts – kind of like tie dying, creating an effect like in picture (8) by AMM. Or how about sprinkling salt onto the fabric when the dye is still wet to create a textured effect?

And if you really love that soft gradient style why not use it on the walls as seen in the ombre paint DIY tutorial here (9).

Related Posts:

April 14, 2013 in Decor, DIY

“DIY: Work in Progress” Printable Door Hanger and Picture Display

DIY Work In Progress Printable

Here is a little something to hang on the door of a craft room (check out our pin board of craft rooms) or home office – as a sort of ‘do not disturb’ sign. I’ve also created a version that can be printed out and put in a frame for daily inspiration 🙂

DIY Work In Progress Display

DIY Work In Progress Door Hanger Color

DIY Work In Progress Door Hanger Rustic

Related Posts:


Related Posts Plugin for WordPress, Blogger...
March 12, 2013 in DIY, Home Office, Made By HtA